Preah Vihear Temple/Western Digital 2tb Caviar Black Hard Drive, Review

|

Quick Click Links
Feature Photograph Preah Vihear Temple Western Digital 2tb Caviar Black Hard Drive, Reviewed
Photography News of Interest
Readers Submissions Readers Questions A Snapshot of Bangkok Images Week in Review
I
nfocus Blog, Fuji X100, A ConvertT
Feature Photograph *menu

Canon 5d Mark II, 24-70mm F2.8L USM @F8 1/320th 24mm ISO 100
Lightroom and other imaging programs often have many preset toning effects ranging from sepia to black and white, and like this sample cyanotype. Cyanotype is an old style process used by engineers both for its easy and economical processing, and because the blue toning makes lines and angles stand out and easier to see. Think "Blueprint." In my opinion cyanotypes rarely are the best choice for modern photography, especially since digital takes the processing cost and ease factors from the equation.
Yet, with this composition which includes lines and complex angles I found it worked well, initially drawing your attention to the most severe lines and angles, and then the small details like the boat motor and boats/objects across the river, while effectively nulling the less important parts of the composition. I prefer to skip presets in favor of doing my own toning.
This image is significant because it’s the first in my new series where I’ll discuss the purpose and application of the most popular toning techniques contained as presets in most imaging software.

Canon 1ds Mark II, 70-200mm F2.8L IS USM @F8 1/1000th 200mm ISO 100
Cyanotype doesn’t work for the above image at all. There are no lines separating the image into sections, no significant angles, only a single subject on a null background.
Give the Cyanotype effect a try on some of your images and see if you can find one where it works for you. If you like, send it in and tell me why and we’ll publish it in the weekly column.
Preah Vihear Temple *menu

Eyal hails from Israel where he works hard half the year, saving to spend the other half of the year using Thailand as a base to travel throughout South East Asia. Eyal has had a strong interest in submission writing and photography and has corresponded
with me for years, asking questions, taking notes, and working up to this submission. Writing in a second language is never easy, and often it's very difficult. For some of us impossible. To keep such good records and document the trip so
well, and then to put the work in to share with the readers is very much appreciated. I hope to see more of his work grace future columns. You can contact Eyal via email at lotfaifa@yahoo.com
Bangkok Images special report
Introduction
Visiting the temple in the top international news you’ll learn of a place of supreme national importance in Cambodia. This temple is focus of a big dispute between Thailand and Cambodia. The temple is in the front line and what will happen here will affect relations between the two countries.
Preah Vihear temple is currently an important national symbol in Cambodia and the subject of constant debate in the local news media. Recently there was a visit from the Cambodian Prime Minister who met with military commanders. The site has a sign that illustrates the importance of place to the Cambodian people.
Six years ago I visited Cambodia. As I remember, there wasn’t a bank note of 2000 real. This bank note is now printed with the national symbol of Preah Vihear temple.
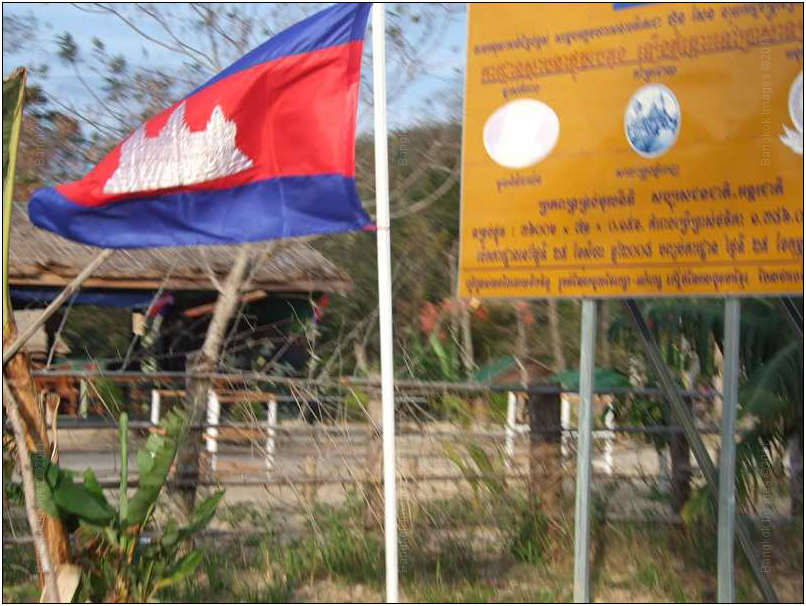
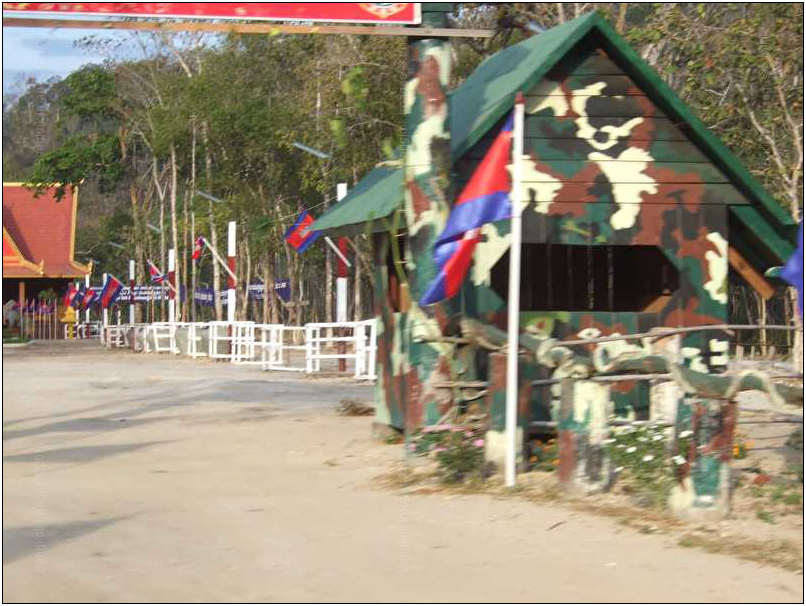
Getting closer to the top of the cliff. As you can see the Preah Vihear is respected as a national symbol. Flags are all over.
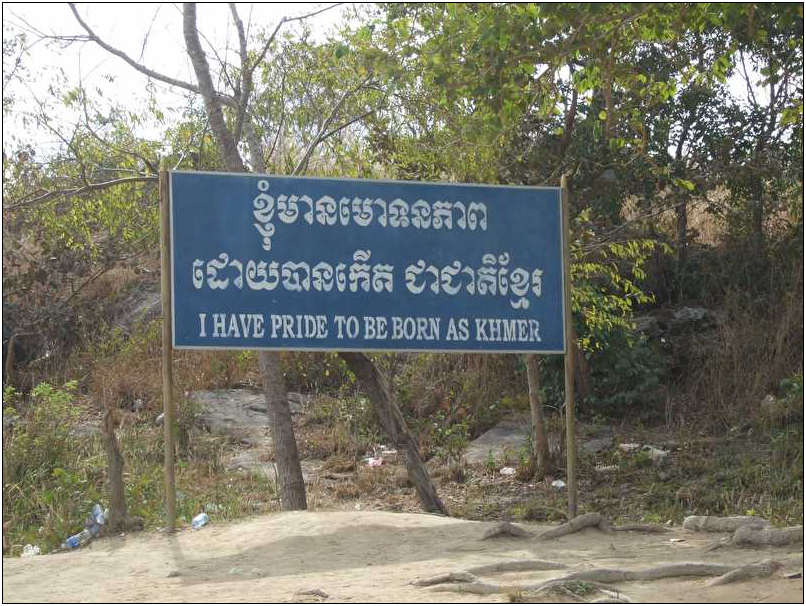
This sign say it all. With all the time I spent in Cambodia, many kilometers on the road, I never saw such a sign. Cambodians are extremely serious about Preah Vihear temple. (BKKSteve: Eyal, do you know how recent these signs and the such are? Is it possible the Khmer government is running a public campaign to publically support their political stance?)
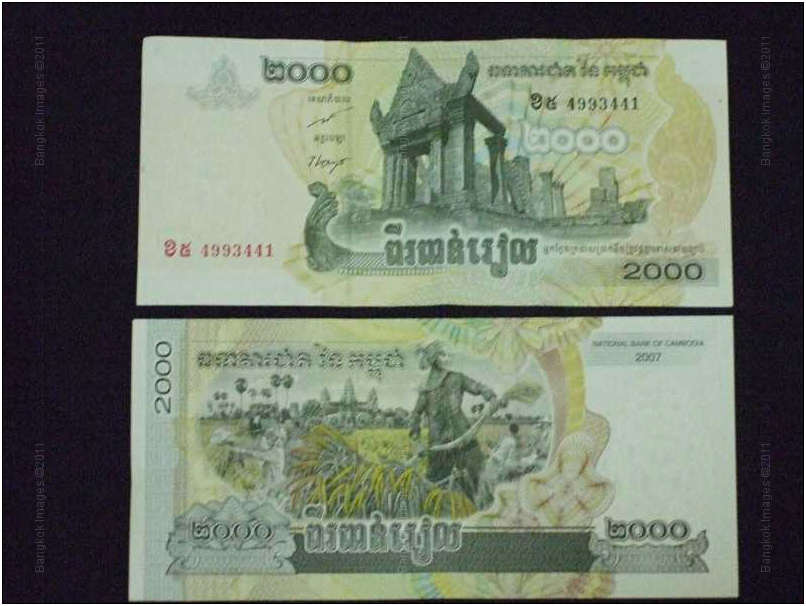
Cambodian bank note of 2000 rial. This bank note is printed with the national symbol of Preah Vihear temple.
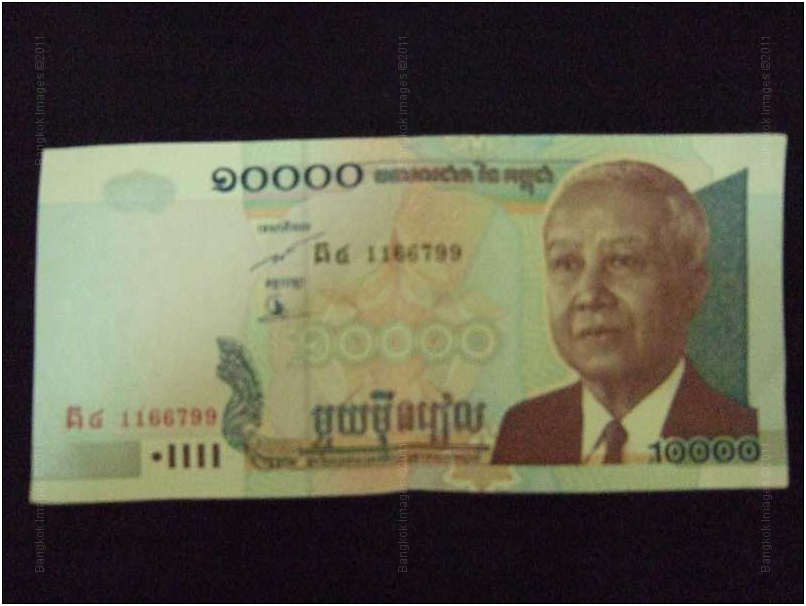
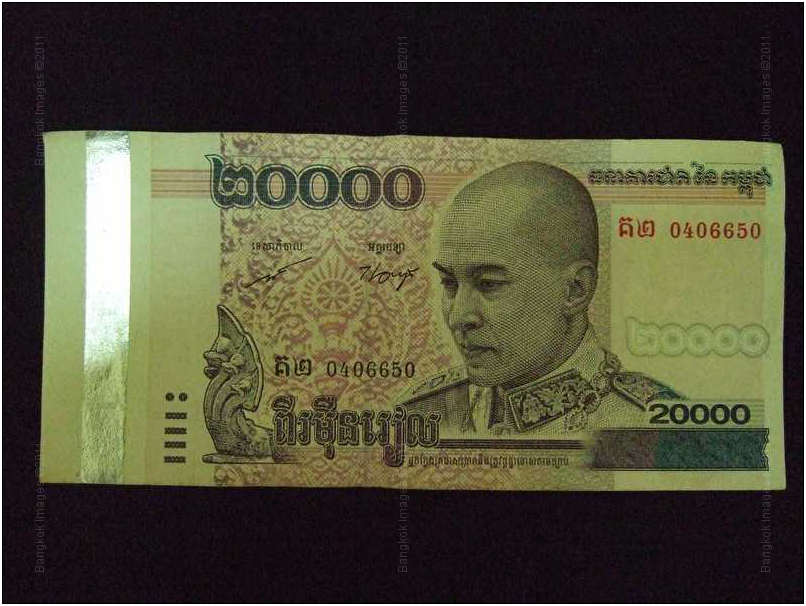
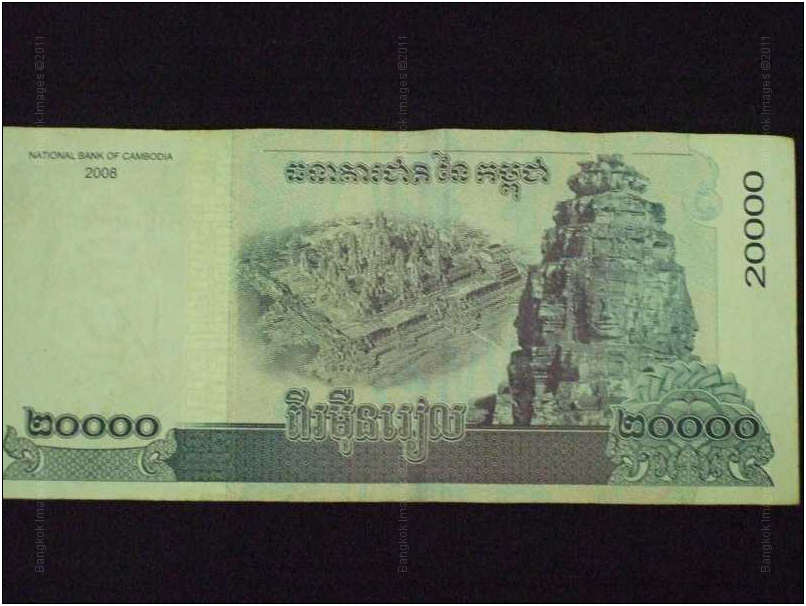
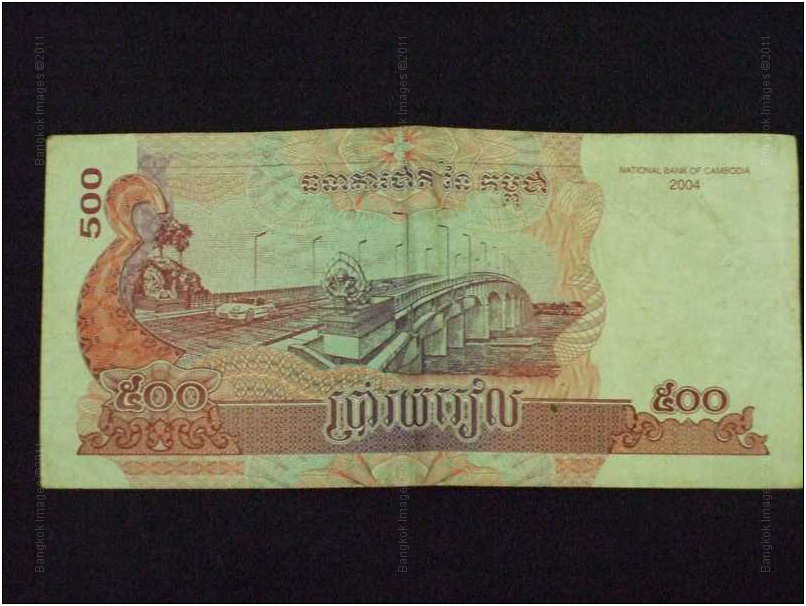
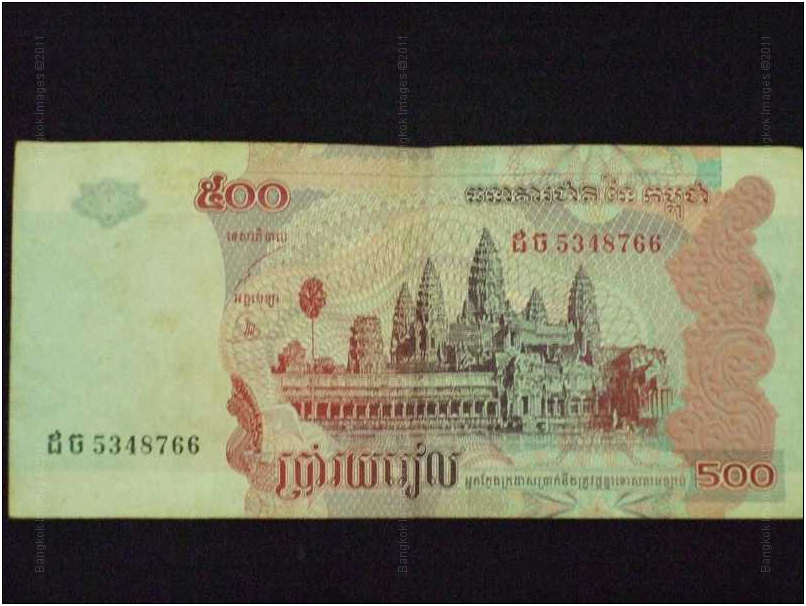
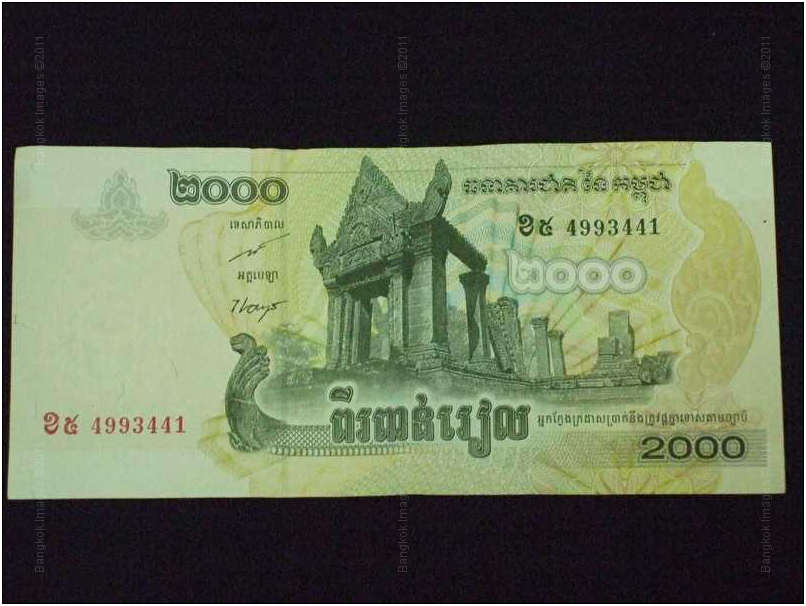
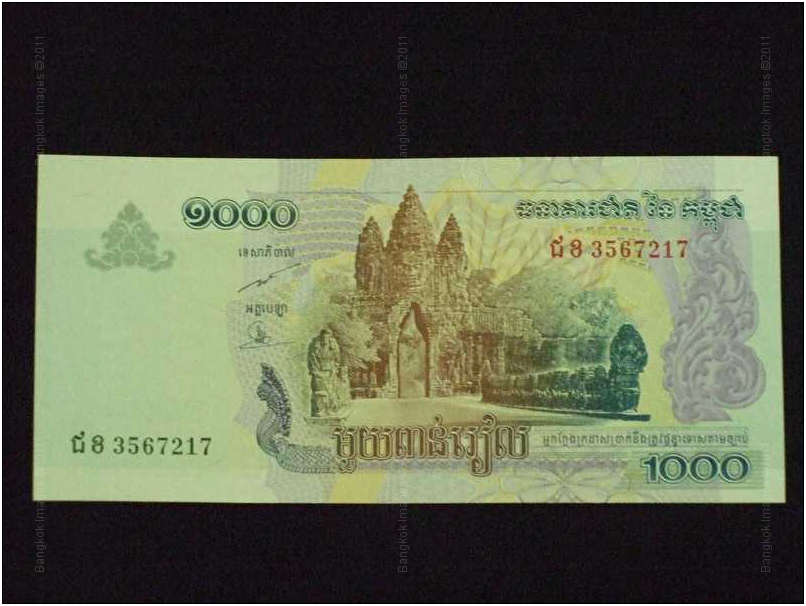
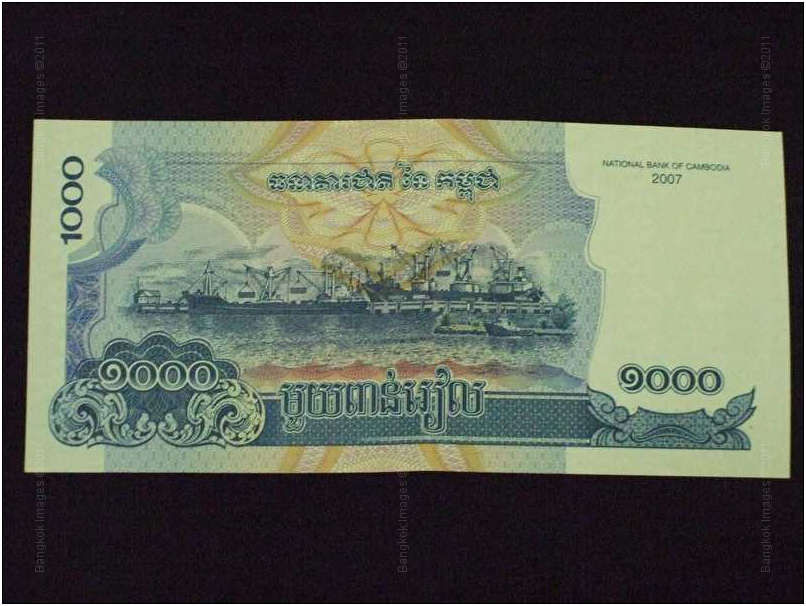
Printed values of Cambodian money (Riel) include the most important national symbols.
The following symbols:
100 Independence Monument (no picture)
500 Angkor Wat
1000 Angkor Tom/Sihanoukville Port
2000 Preah Vihear temple
5000 The King (no picture)
10 000 The King
20 000 The Prince /The Bayon
Conclusion: The Preah Vihear temple importance is extremely important in a national level. (BKKSteve: Eyal, I notice all these bills are dated since this conflict has been going on. Do you know if the previous dated bills have the temple on them as well?)
Reminder
Last year the Thai army attempted a military takeover of the Preah Vihear temple. The argument is that the place belongs to Thailand. A surprising move since there is a border crossing at the foot of the temple. Tourists and visitors from Thailand had come to visit the temple freely. All the time continued cooperation. Until Thailand suddenly and unilaterally decided on a military takeover. This is a Cambodian temple and a significant part of the magnificent ancient Khmer culture. Somehow I don’t find logic in such dangerous activity? The Cambodian army was able to defend the temple …… until the next round. In war we all know where it’s started but the end is unknown……… (BKKSteve: Eyal, are you saying Thailand has no history in the Khmer culture? There must be some reasoning other than it’s theirs.)
And an important reminder
Large areas were annexed by force from Cambodia to Thailand. As a matter of fact it is 6 provinces. There is a large Cambodian population in Isaan (Korat, Buriram, Surin, Si Saket) they are ethnic Cambodians. Citizenship is Thai. (BKKSteve: Eyal, some more background information on this would be interesting. Do you mean ethnic Khmer?)
Location
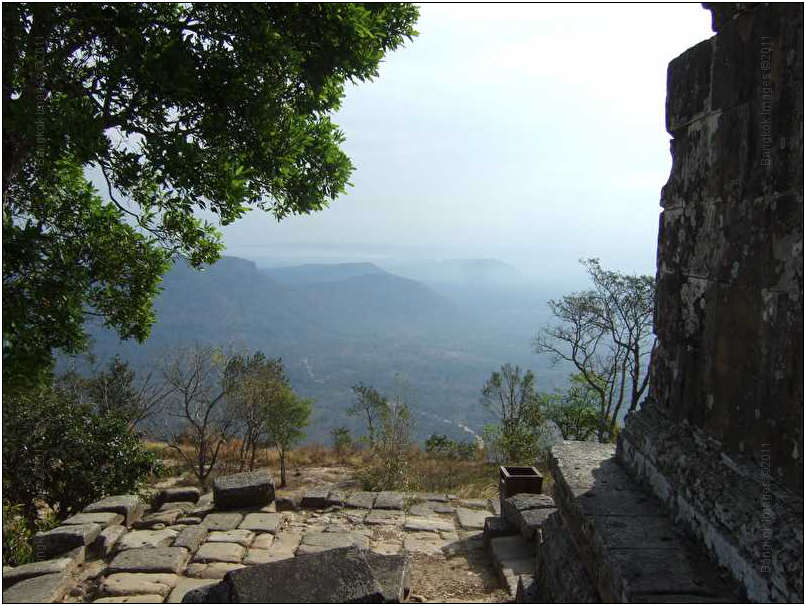
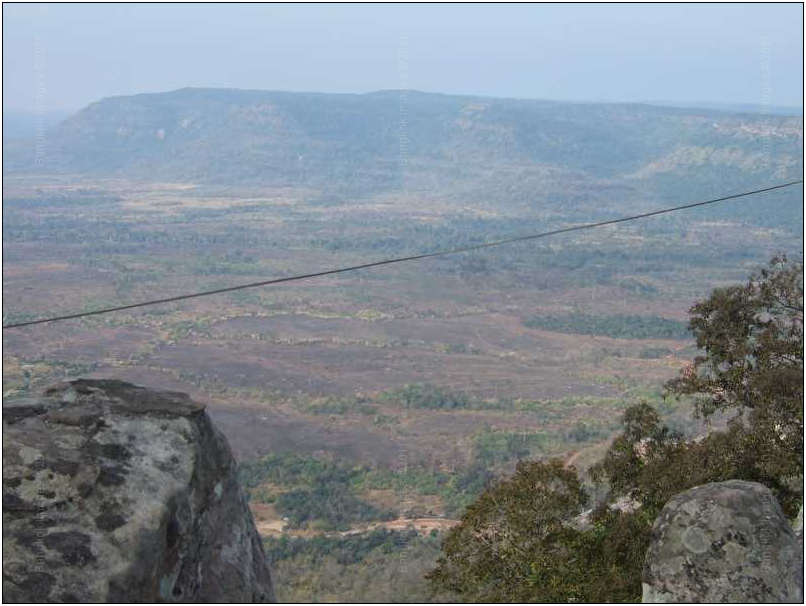
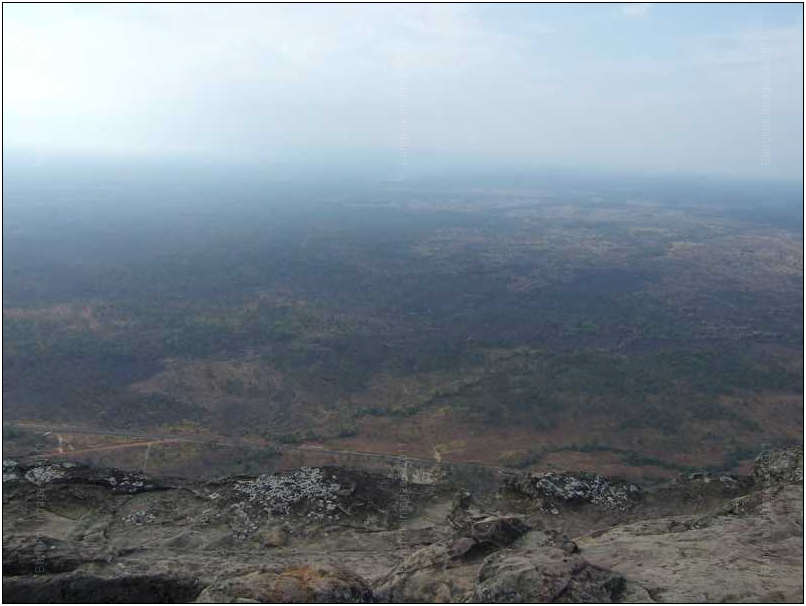
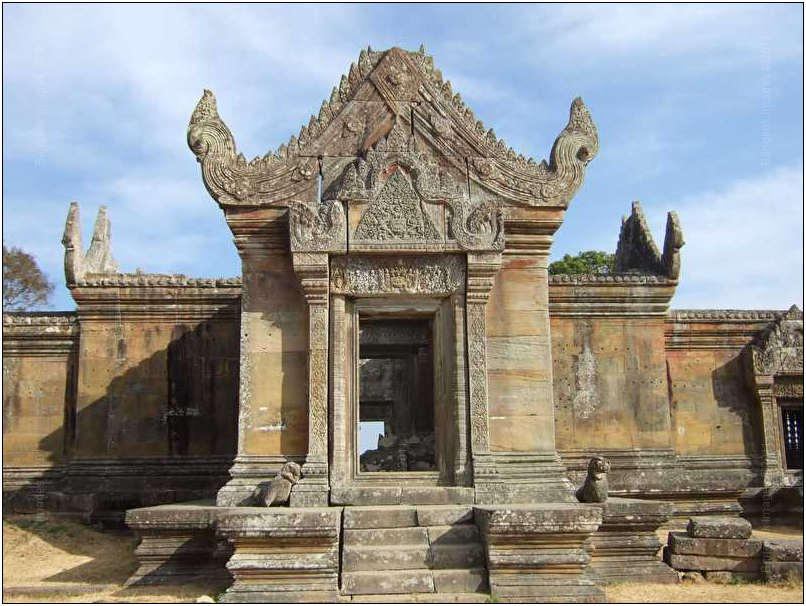
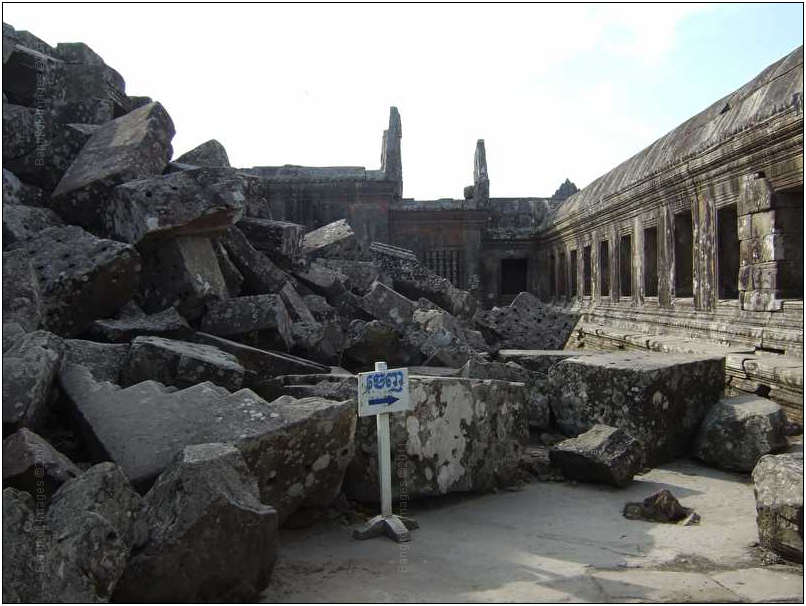
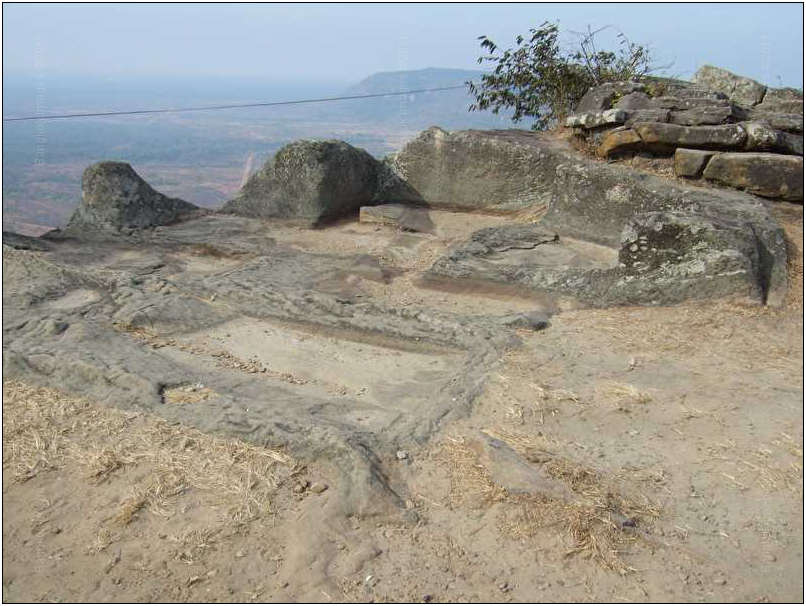
Preah Vihear temple is built on top of cliff in the Dangrek Mountains. The place is breathtaking. From the top of the temple you can see a very large area. Plains. This is the view of Cambodia. It can be seen in other temples. Because it's probably a recurring theme that an important reason why the temples were built in a very specific way facing a certain views.
How to get there
A good option for a small group is to rent transportation from Siam Reap. It will take 3-4 hours to the temple (one way). Another option which I did is to take a bus from Siam Reap to the nearest town call Sraeem. I spent the night there. From there you can rent a motorbike taxi in the early morning.
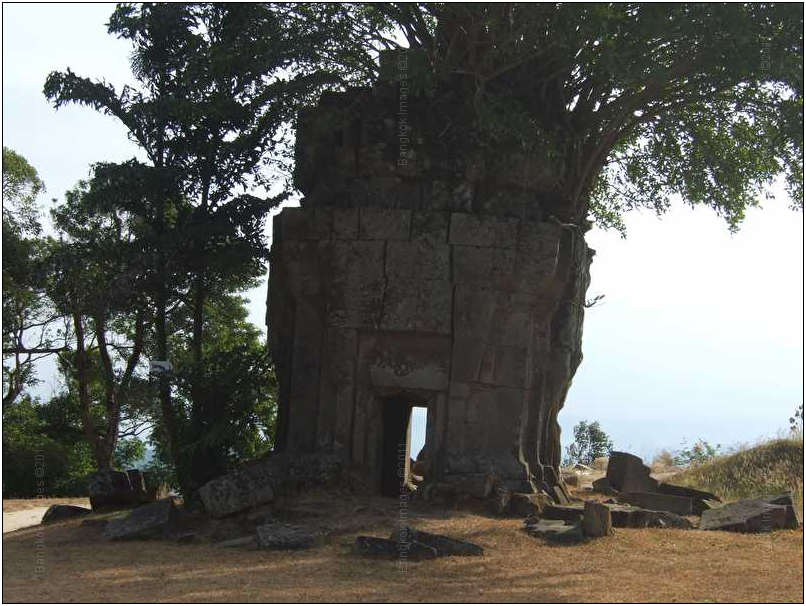
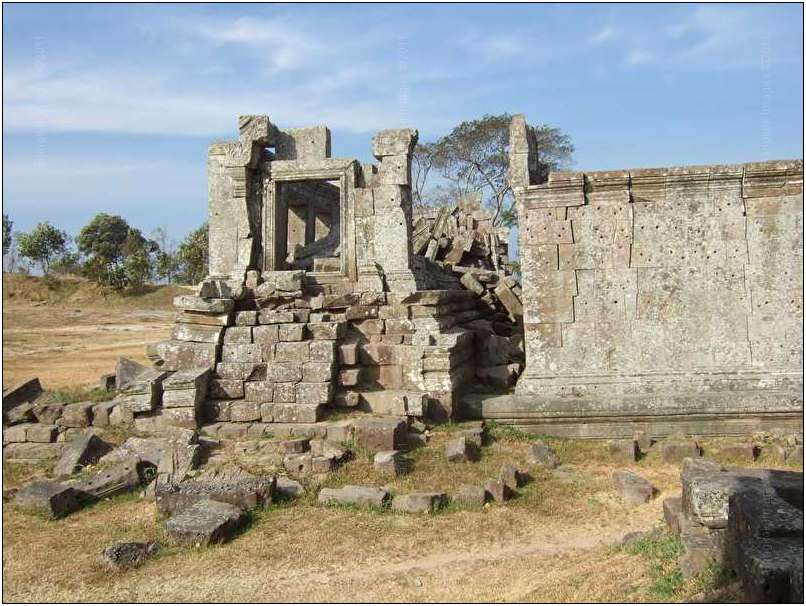
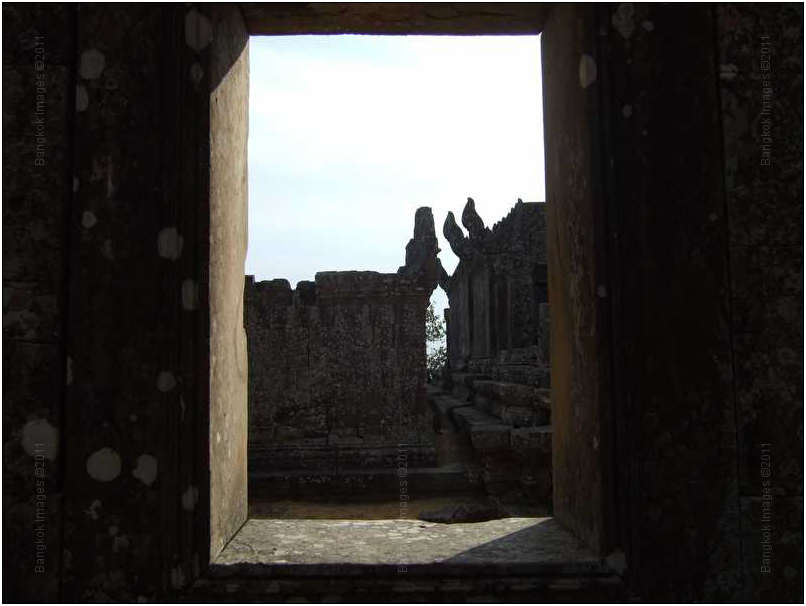
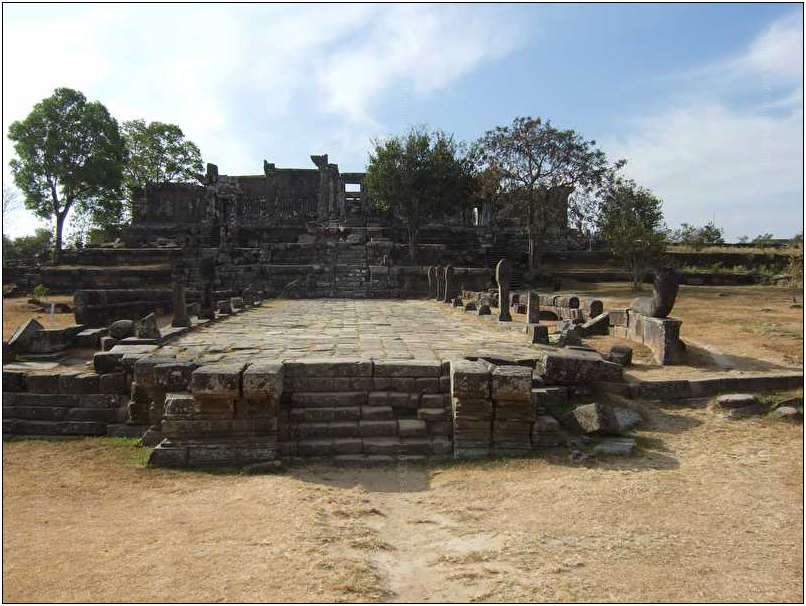
Temple Structure
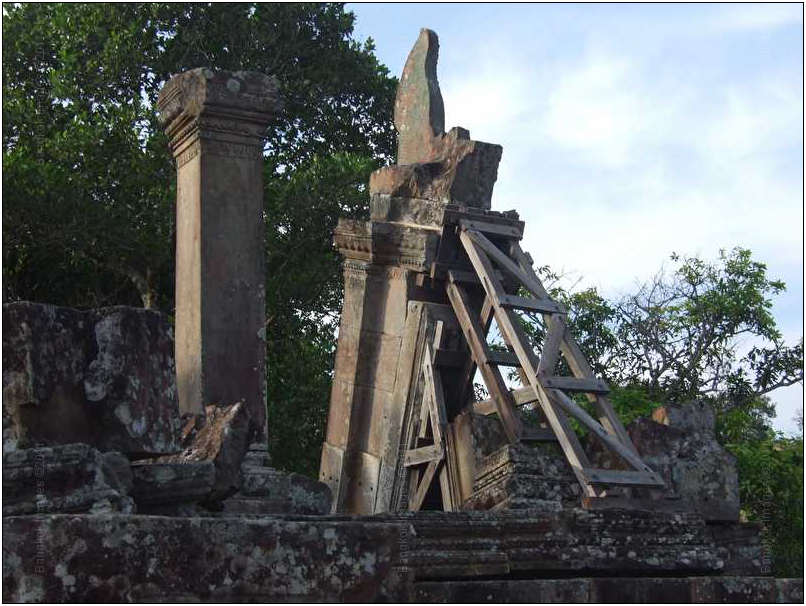
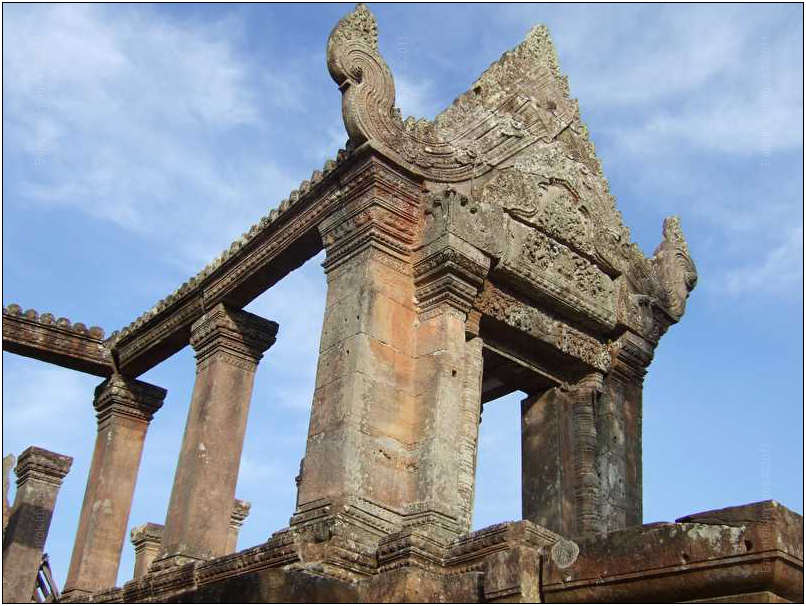
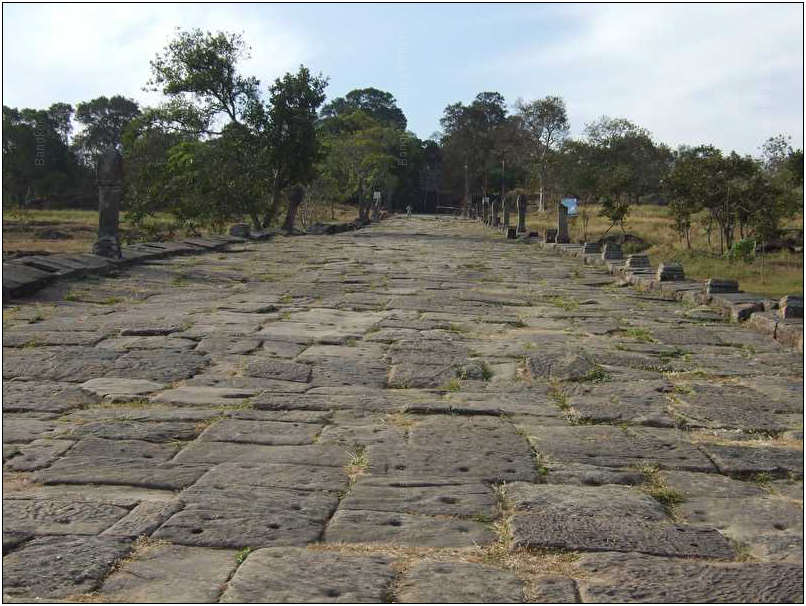
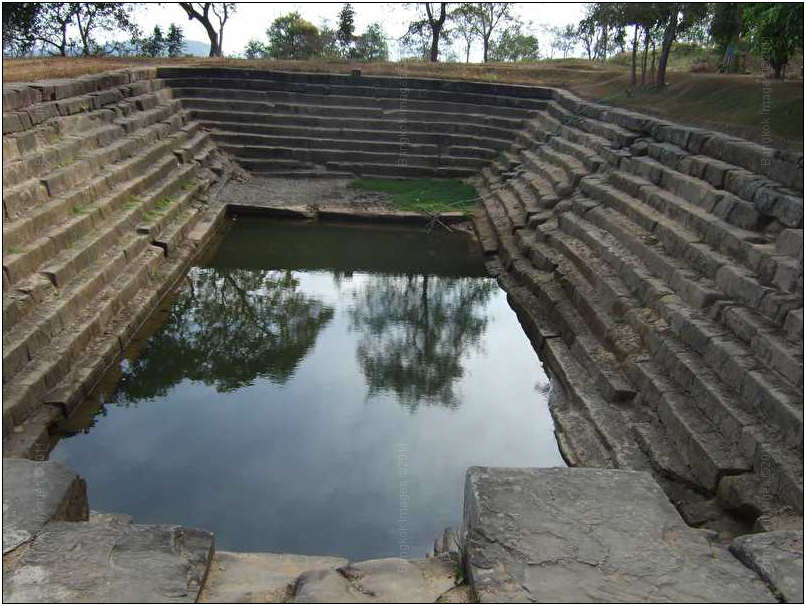
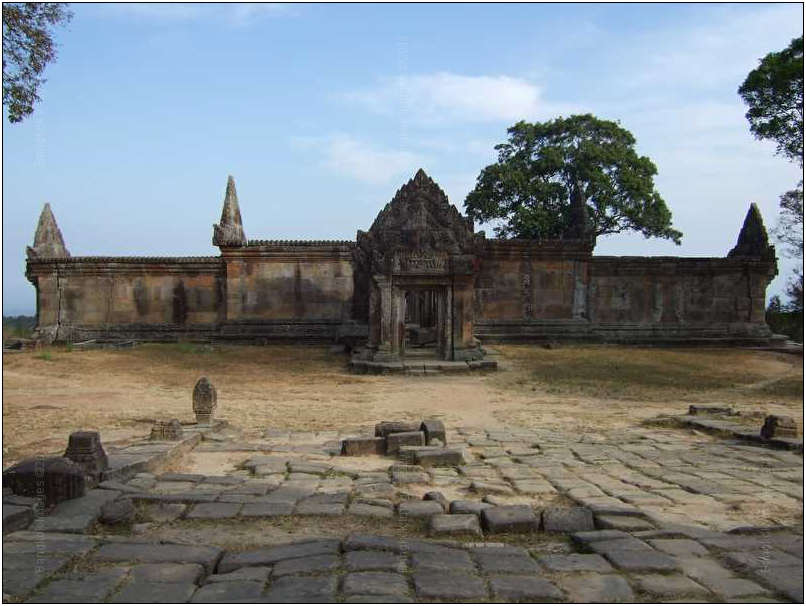
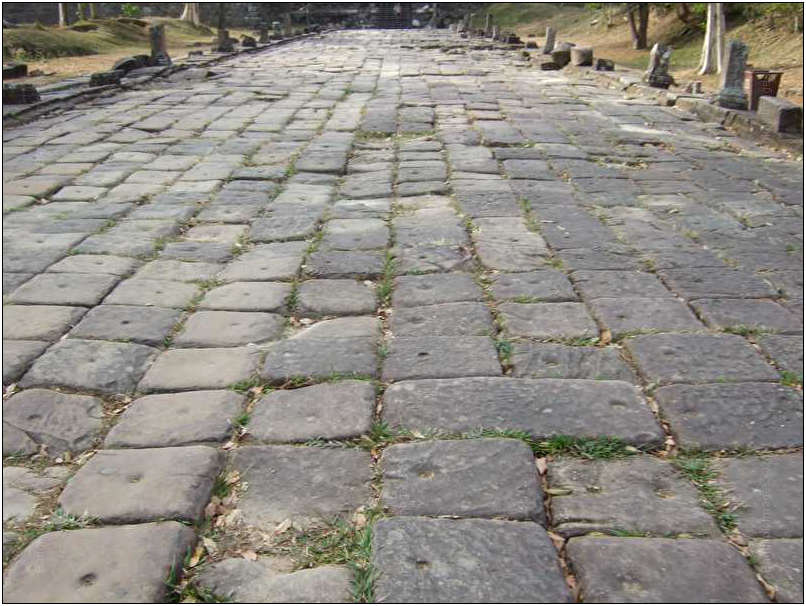
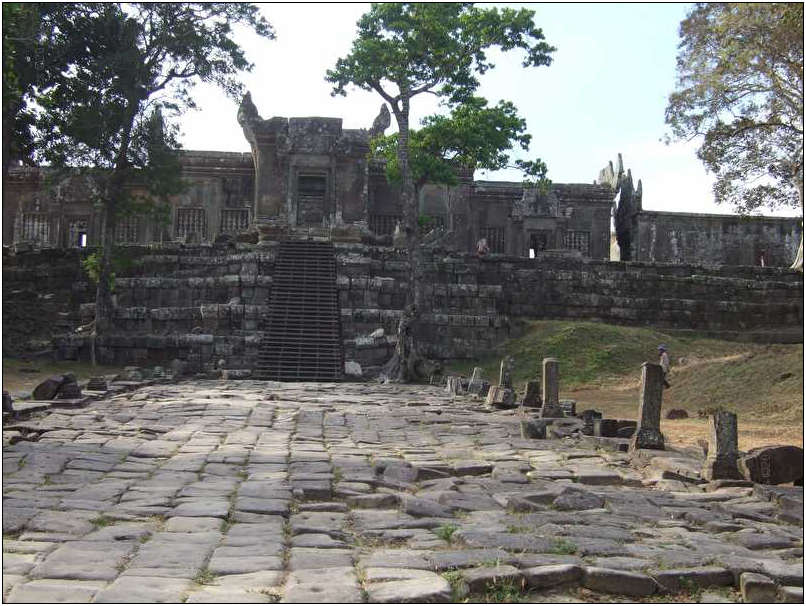
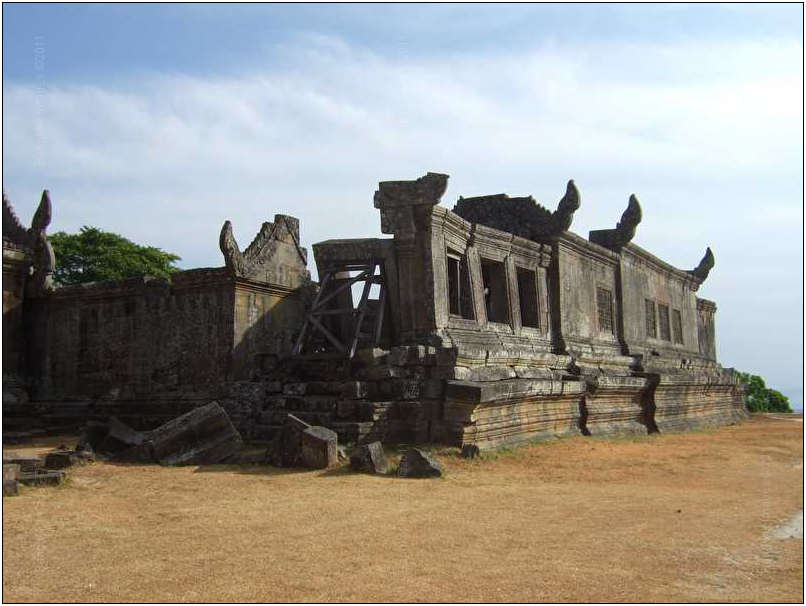
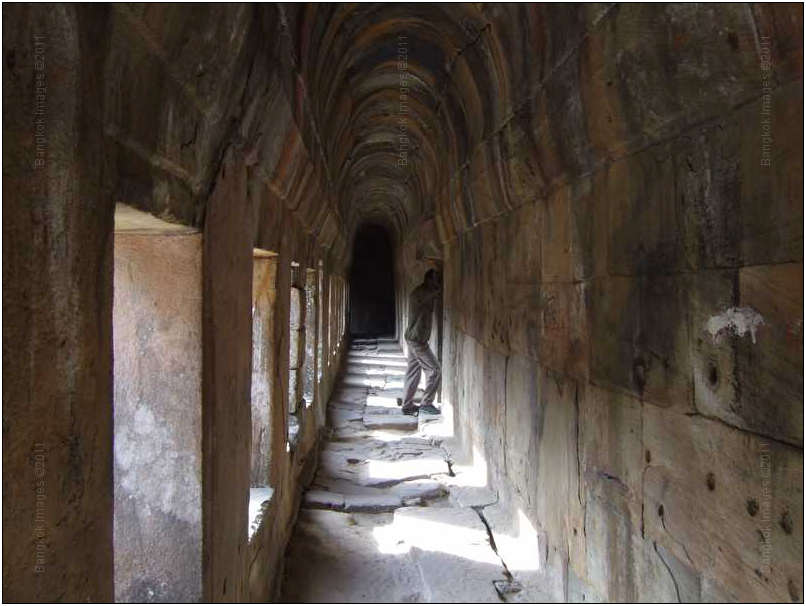
The Temple was built from the foot of the mountain (Thailand Cambodia border) to the summit. All the way is paved with stones of the same size. As in other places there are five temples during the walk to the top of the mountain. The impression is that this is an important pilgrimage site evidenced by the width of the paved road climbing to the top.
The place is designed to move a large number of people. The temple was meticulously designed. The construction plan is not accidental.
There is an astrology connection between the stars and the temple architectural plan.
According to the building structure the temple was built before Jayavarman 7 (Angakor temple, Angkor Thom Bayon,) in Siem Reap.
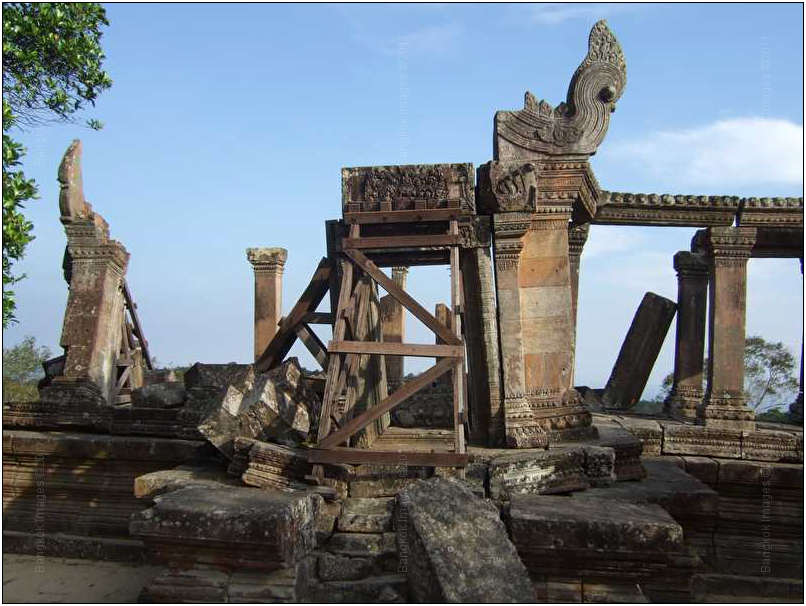
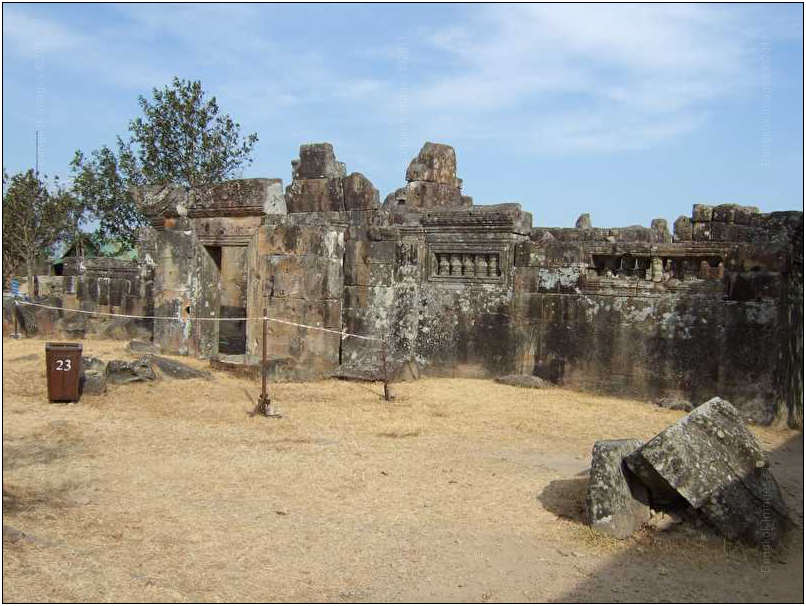
Like other temples this temple also consists of five stages. Each stage located on the middle of the paved road. Each stage is a shrine.
The first temple known icon appeared on the Cambodian bank note l of 2000 Riel value.
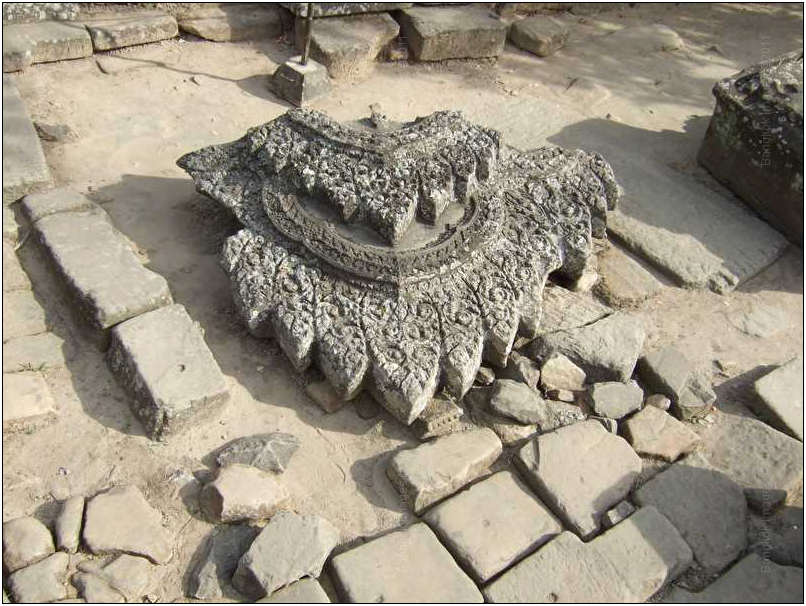
At least part of the temple was built of local stones. Due to the massive quarrying activities changed over the mountain and incorporated into building design and the view and planning from the temple.

Dangers
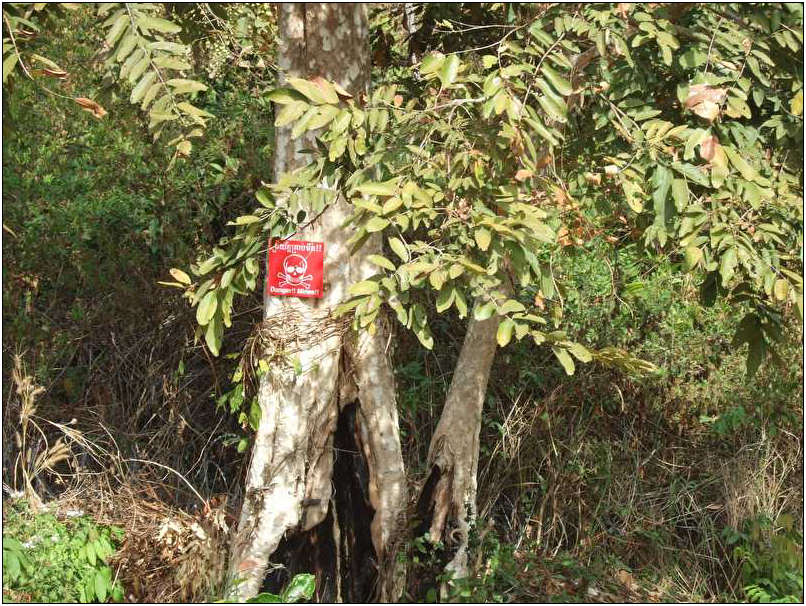
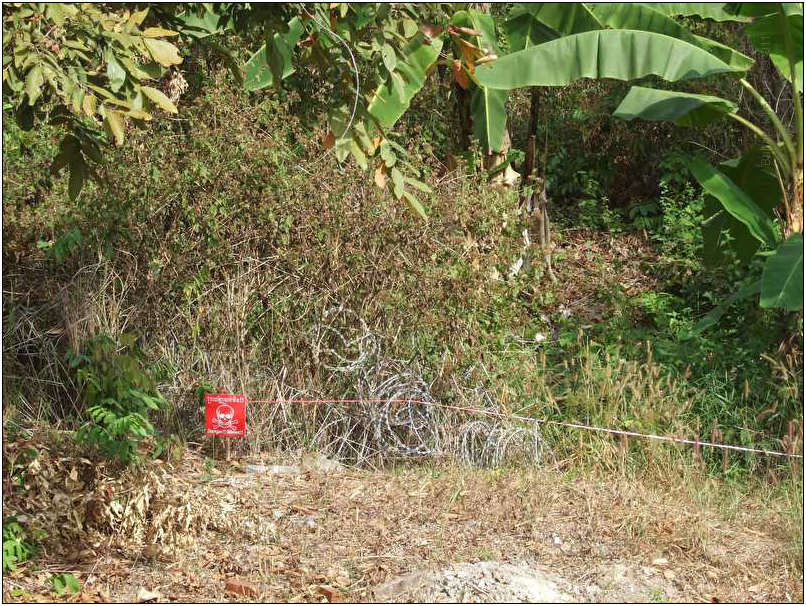
This is a quiet border area but due to politically sensitive and military activity in the area thing can be change in a matter of hours. The place can become a battlefield very quickly. The area mined because of the dispute between Thailand and Cambodia. Some areas are marked as minefields. Should be heard provisions and preferably not hang out alone near the border. There are also reminders of the past. During the Khmer Rouge were laid mines in the area. There is no marking of these landmines.
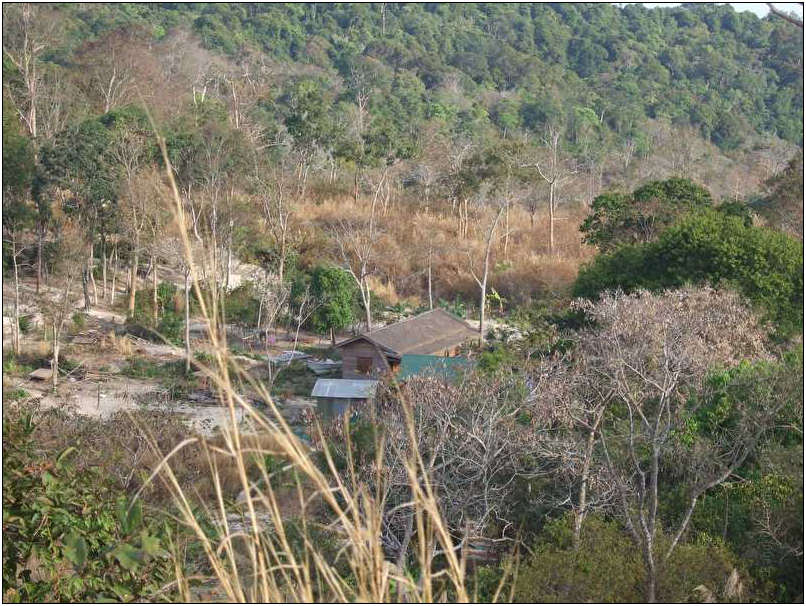
Khmer Rouge
In the past this area was a meeting place between Pol Pot the Khmer Rouge commander and seniors of the Thai army. I wonder whether there is documentation of these meetings. You might ask yourself if such encounters like this happen. Anything is possible. And how do I know this? my tour guide in the site was a soldier in the Khmer Rouge. He didn’t read it from books. He was there. He was aware of what is going on. Those meetings took place right here.
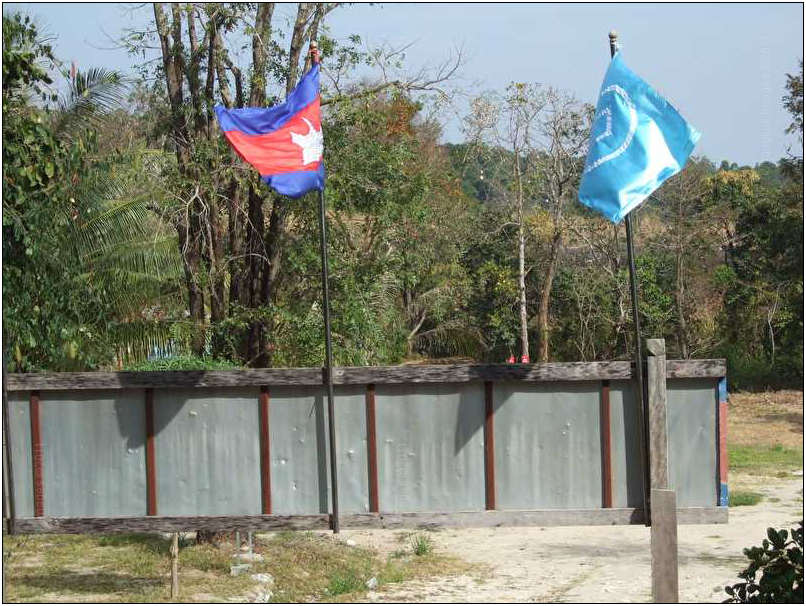
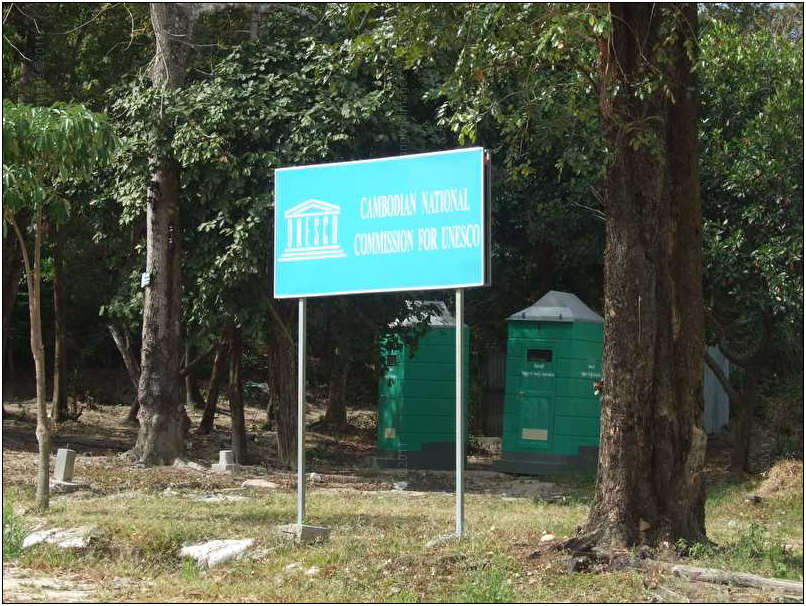
Conservation
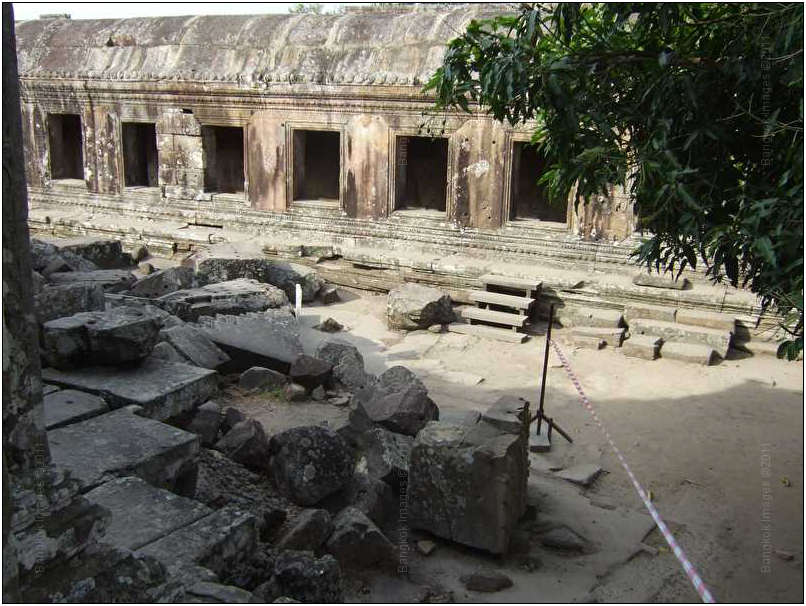
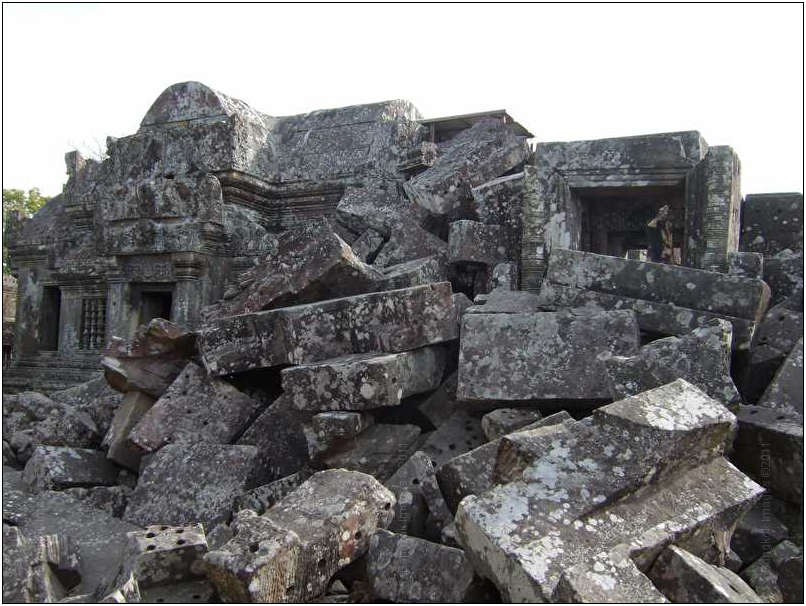
The temple does not seem to be hurt by military operations. The Cambodian government is involved. UNESCO, World Heritage Site, and other donors are involved. Conservation and restoration and maintenance of the site is required as soon as possible.
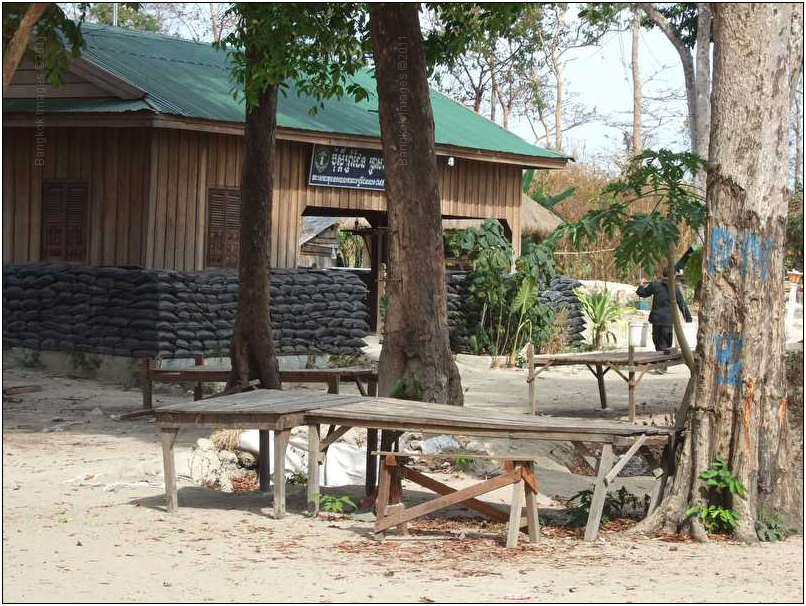
Contemporary situation
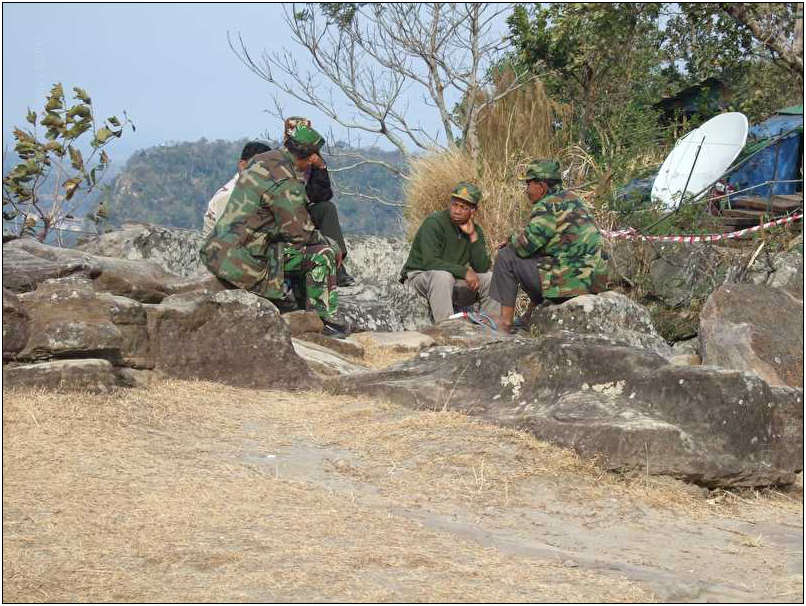
I was received very nicely by the Cambodian police and military. A lot of Cambodians were present. The place is safe (was) and quiet. No combat situation. In an attempt to calm the situation it was decided the two governments that a symbolic five Thai soldiers live together with five Cambodians soldiers on Cambodian border. Let's hope that this will attract more tourists it will be a fascinating place. As I write these lines here I got a ”wake up call”. Again this area is war zone. Which side started again shooting and why I don’t know. We will never know. Better an agreement then a war.
Summary
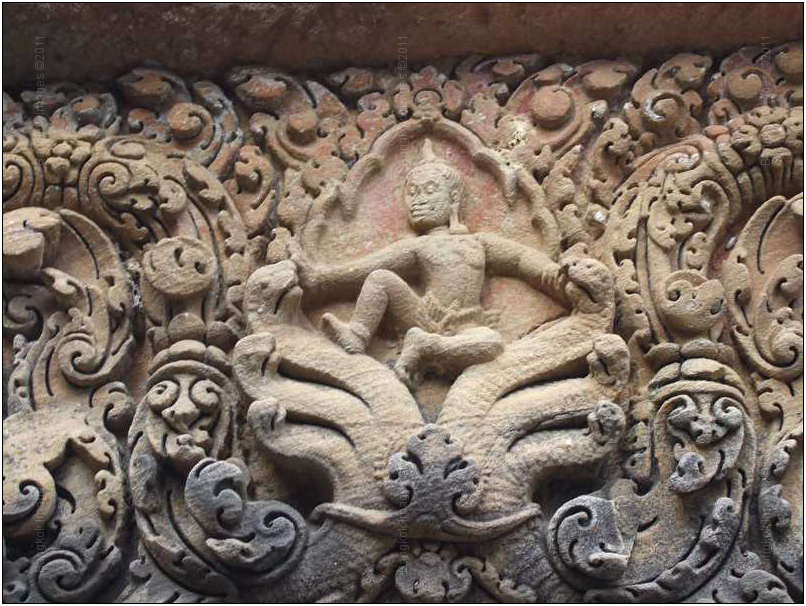
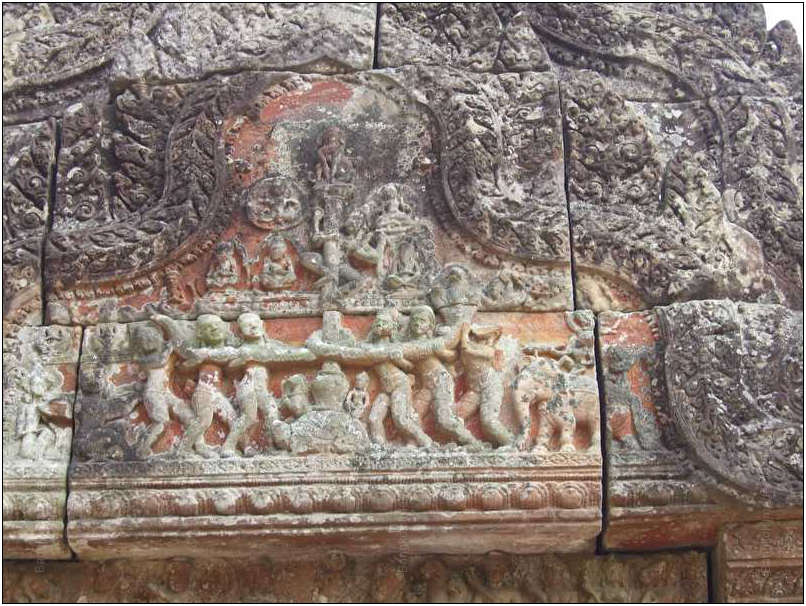
Visiting the temple was interesting and an exciting experience for contemporary political significance. Because important historical value of the temple and the spectacular scenery. o me it was one of the most fascinating places in Cambodia. I will end with one of the most famous scene which appear in the second shrine. more known as "sea of milk"'.
Eyal – This is a very interesting place and I really enjoyed this. Thank you. I hope to read more details in Part 2.
Steve
Western Digital 2tb Caviar Black Hard Drive, Review *menu

Introduction
You might think that with all the hard drives out there choosing one would be difficult, or they’d all be pretty much the same. You’d be right on both counts. Yet, there is one drive that imaging professionals turn to more than any other. The Western Digital Caviar Black. This is by far, the preferred drive for those who really care about their images. This is the storage drive we would use in our Mini-Tower i7-950 Workstation build and our Mid-Tower i7-920 Workstation build.
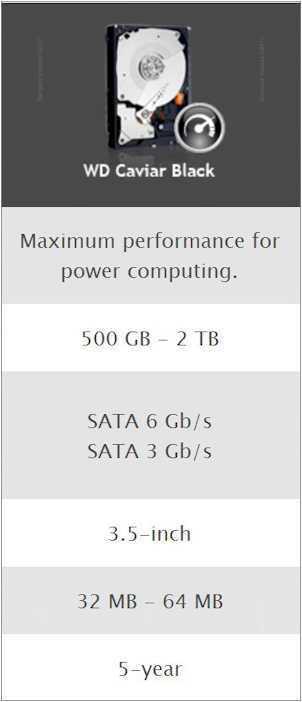
They come in capacities from 500gb to 2tb. 3tb models I’m sure are soon to be released, but so far only the Caviar Greens have been released in 3tb capacities. The WD Black is advertised with a SATA 3gbs and SATA 6gbs interface. We’ll take more about this later. Depending on model they come with a 32-64mb cache, a 3.5 inch format, and a five year warranty.
Western Digital Caviar Black
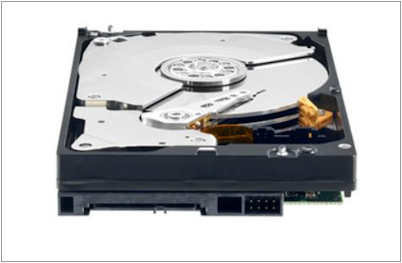
Western Digital’s Caviar Black drives have traditionally been known as their “performance” drive, the drive to go to for maximum performance from a mechanical hard drive, and the drive to go to for maximum reliability. They’re normally 5-10% more than the cheapest like capacity drives you’ll find on special, but I think the 5 year warranty just by itself more than makes up for this price difference.
They come in the standard desktop 3.5 inch format. The back connectors include your standard SATA data connector and SATA power connector.

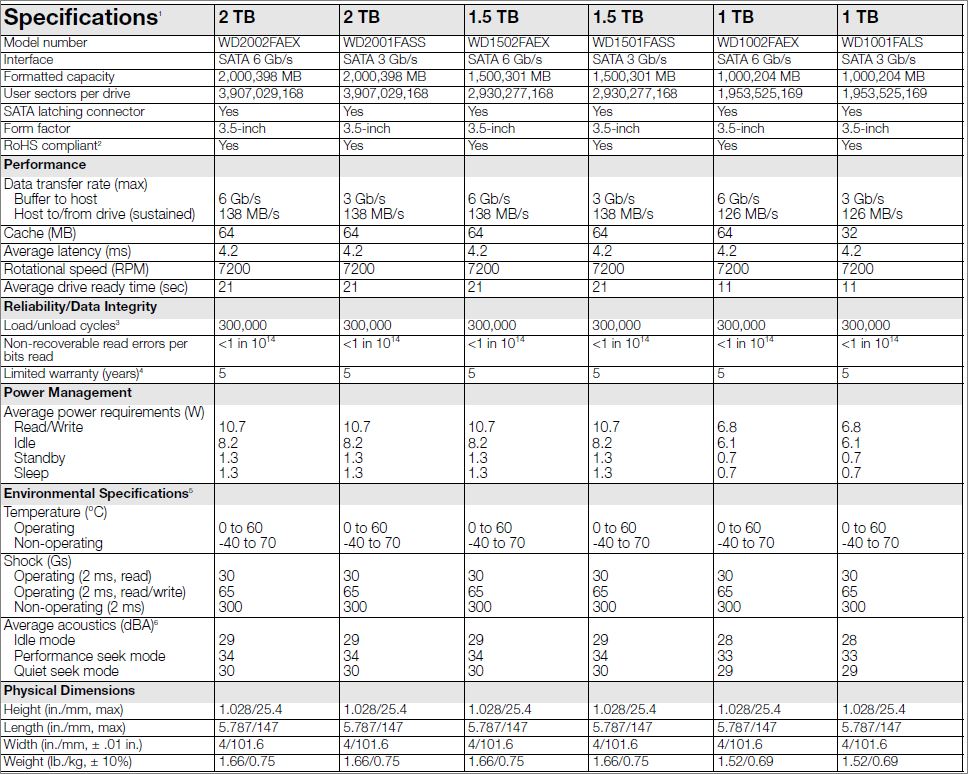
I want to talk a bit about the advertised SATA 3gbs and SATA 6gbs interface. The SATA 3gbps interface is capable of transferring data at up to 300mbps. The SATA 6gbps interface is capable of transferring data at up to 600mbps. Both the SATA 3 and SATA 6 interface uses ‘exactly’ the same connectors. The fastest mechanical SATA drives can barely break the 140mbps data transfer rate. SATA 6 is backwards compatible with SATA 3. So the question of “why” this drive has a SATA 6 interface, and if it’s in reality any different than a SATA 3 interface would be a reasonable question. WD, despite a half dozen emails, has failed to answer this question for me. Personally, I think the marketing guys got carried away.
Installation

Installation is exactly like any other mechanical hard drive, so instead of describing the installation I’m going to list some points to be careful with on installation for optimum performance.
- Don’t force cable connectors. If it doesn’t fit easily, look it over carefully before proceeding. I’ve seen a bunch of broken motherboard connectors, and even more broken hard drive connectors, and it just isn’t necessary.
- Try not to connect more than 3 hard drives to any single power cable coming from your power supply. Avoid using ‘t-splice’ or greater power adapters if at all possible.
- If your case provides rubber mounting washers or rubber supported screws, use them. It will help reduce vibration and the noise created by vibration.
- Hard drives DO need adequate air circulation. If your installation allows for an unused space between drives, take advantage of this extra space. Consider mounting a fan to circulate air around your hard drives.
- Put a white self-adhesive mailing label on the front edge of the drive that you can see when the drive is mounted, and write the drive brand, model, capacity, and date of installation. You’ll forget this information later, and this will help you keep track of what you have, and the age of each drive, without pulling them out of their slots.
Performance
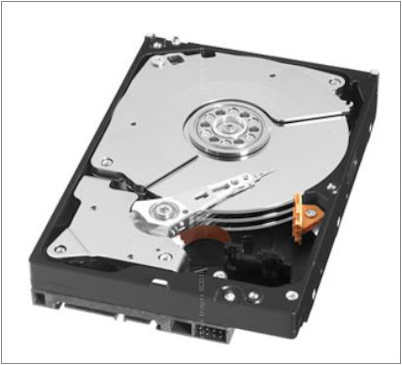
There are three major areas to evaluate performance with hard drives. How quiet the drive is, how much power it uses, and how fast it transfers data.
I can only give you a subjective opinion on how quiet they are as I lack a decibel meter here in Thailand. They’re as quiet as your average mechanical hard drive, no more quiet and no more noisy than most. Completely average. It helps to mount them properly to avoid the drives rotational platters from passing on vibration to the case chassis.
Power draws from 1.8 watts at idle, to right over 10 watts under maximum load. Again, average in the industry.
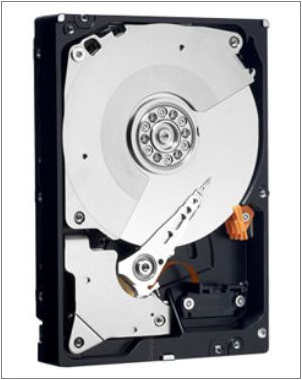
Data transfers are among the fastest in the industry for a SATA drive at ‘up to’ 138mbps. Or so the data sheet says. Depending on file size I observed from 70-125mbps. I have no reason to doubt their 138mbps claims with the optimum file size. Yet, it’s important you realize that YOUR file sizes will have a great deal to so with file transfer speeds. As will the speed your source drive can output data.
Considering the above average performance when it comes to data transfer speeds, it makes the average power consumption and average noise levels look all the better.
Summary
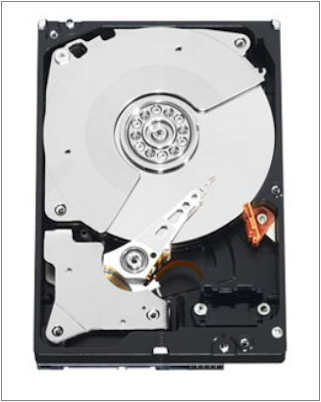
Each successive WD Caviar Black hard drive I buy is better than the last. Vintage does matter. They’re constantly improving these. My earliest 500gb black drives transfer data at barely 60mbps, use more power, and make more noise. Later 500gb drives transfer data at up to 72mbps and make less noise while using less power. Each newer model is a better drive and performs better. When shopping for these drives pay attention to the date of manufacture and get the newest drives.
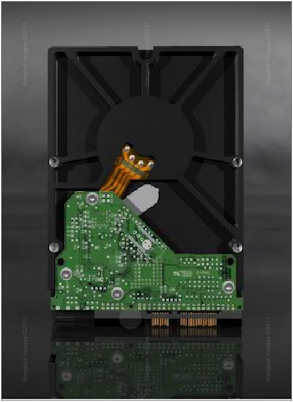
I remain convinced these are the fastest most reliable mechanical SATA drives available, and most imaging professionals share my opinion. As mentioned, they are 5-10% more, but the warranty often makes up for this alone.
They’re well packed, the instructions are clear, and they perform as you’d expect. Flawlessly. Without a doubt, the Western Digital Caviar Black Hard Drives, are the hard drives against which all others are measured.
Photography News of Interest *menu
Are you one of those who would like an SSD but you need a higher capacity than you are willing to spend? HighPoint has been making the highest performing SATA controllers for some time. Now they’re offering a hybrid controller which allows you to connect a SSD and a regular HDD, which will then present as a single drive with 80% of the SSD performance and 100% of the HDD’s capacity. Included software lets you tune the controller to most benefit your individual workflow.

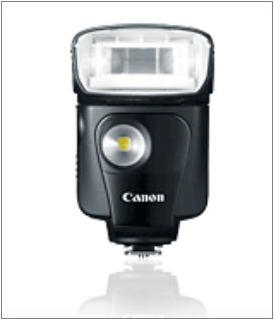
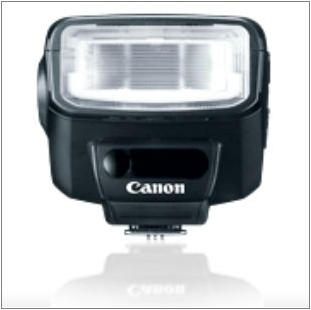
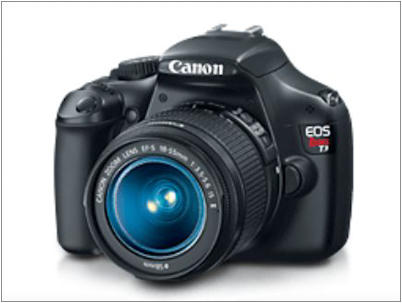
Canon announces several new products. Four new point and shoot compacts, a new T3i/600d DSLR, a lower priced T3/550d DSLR
sporting 18mp and 12mp sensors respectively with the T3i offering an articulating LCD among other improved features. There are two new lower end flashes, the 320 EX II, and 270 EX II, new features on these include the ability to run as an on-camera slave
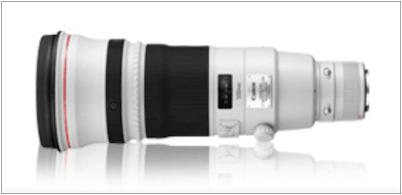
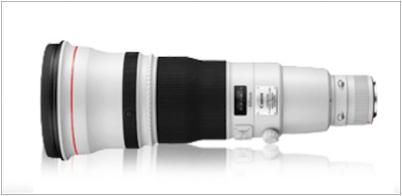
mode. For the pros and high-end enthusiasts we have a new 500mm F4L IS II and 600mm F4L IS II telephotos,
and the most interesting release is a Nikonesque 200-400mm F4L IS with a built in 1.4x teleconverter! There are already previews of the DSLRs on most review sites.

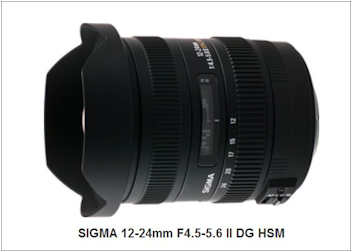
Usually I don't recommend or even talk much about, non-OEM lenses such as those from Tokina and Sigma. The reason is, most of them are a poor value when all factors such as image quality, build quality, and price are considered. Two long time exceptions are the Sigma 20mm F1.8, and the Sigma 12-24mm F4.5-5.6 DG. If you've been paying attention to my exfil data I post beneath each image on this site, you'll have noticed that the 12-24mm Sigma is one of my most used lenses. It is the ONLY rectangular 12mm lens for a full frame camera on the market, and a really good performer across its entire 12-24mm range from F8 and above (F11-F22).
My one complaint with this lens is it has a significant amount of CA (purple fringing) I'm always having to correct in post processing. Now, Sigma announces a new revised version the Sigma 12-24mm F4.5-5.6 DG II HSM
with new lens coatings and optical changes designed to further reduce CA and the optical distortion you'd expect from such a ultra-wide lens. Until some quality reviews are posted I won't know if its worth replacing your current
Sigma 12-24mm, but got sure it's a no-brainer that if you're in the market for an ultra-wide zoom this new model should be given due consideration. I'll keep an eye out for some quality reviews and post them here when I find them.
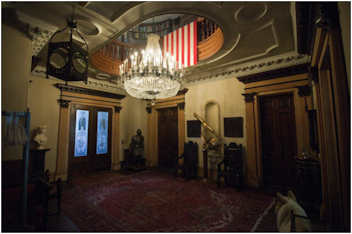
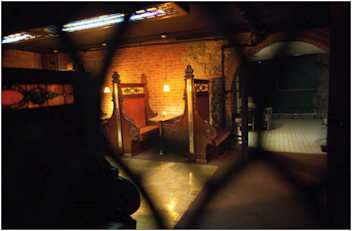
What will be the future of the Steinway Mansion? I liked this article because the accompanying photography was decent
and the story interesting. This slide show was icing on the cake.
Yes, this is the “Steinway” of piano fame. Check out the story for details on this interesting mansion and its history.
Digital Photograph Review previews the brand new Olympus E-PL-2. If you’re interested in a new micro 4/3’s mirrorless camera, this is one of the top models with the latest technology.
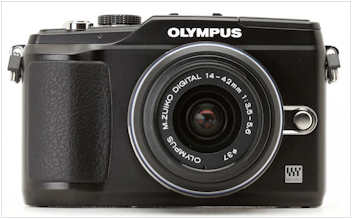
Dxo Labs releases their latest DxO Optics Pro v6.5.4 for Windows and Mac. The latest cameras including the new Olympus E-PL2 and Panasonic DMC-LX5 and Sony DSLR-A580 are now supported. A 30 day free trial is available.

Readers Submissions *menu
Steve:
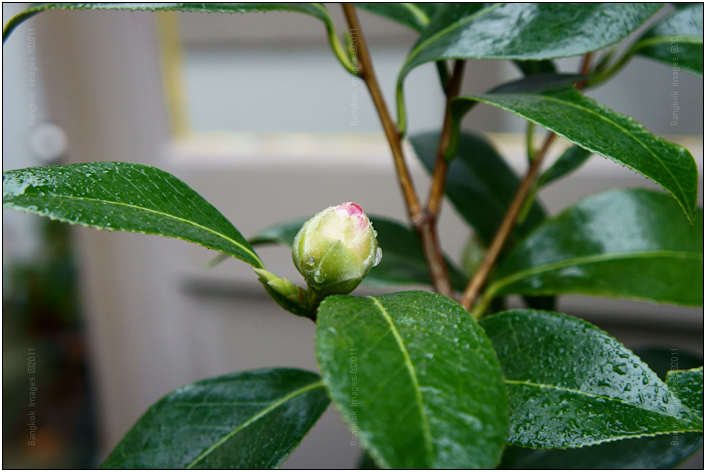
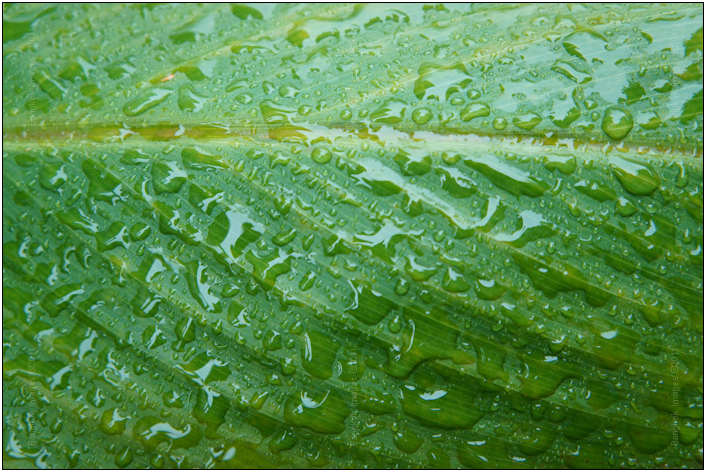
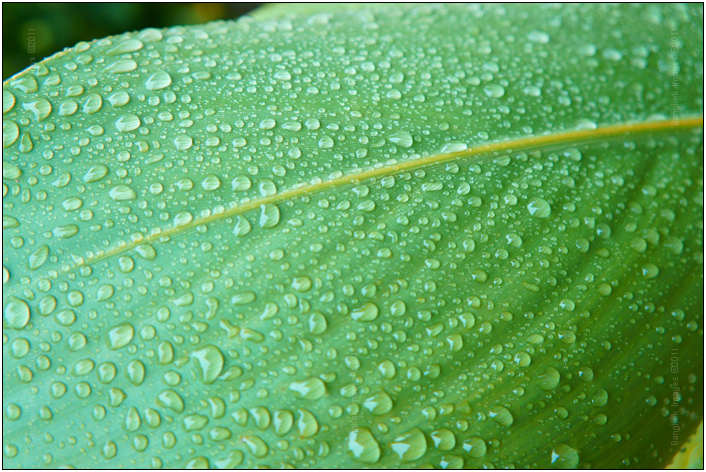
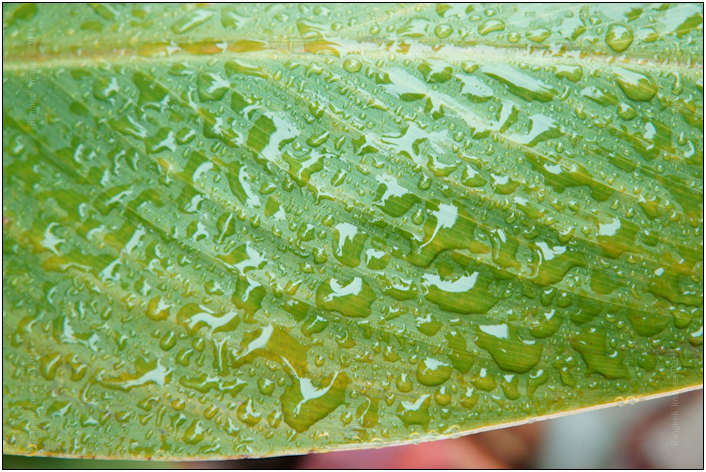
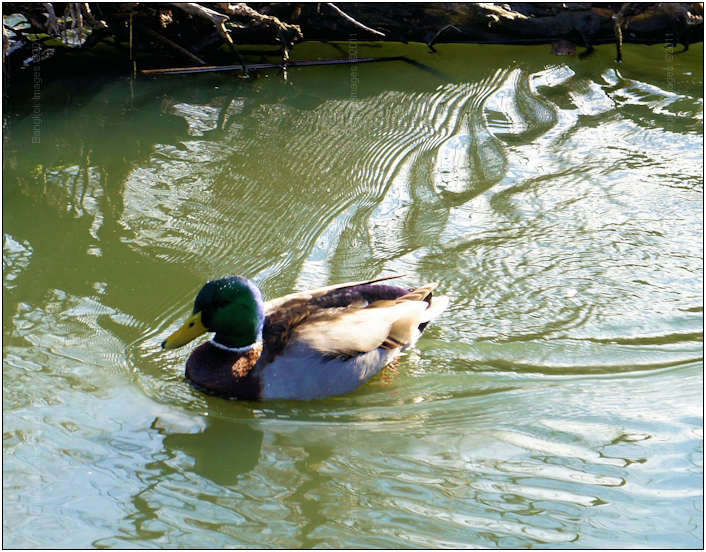
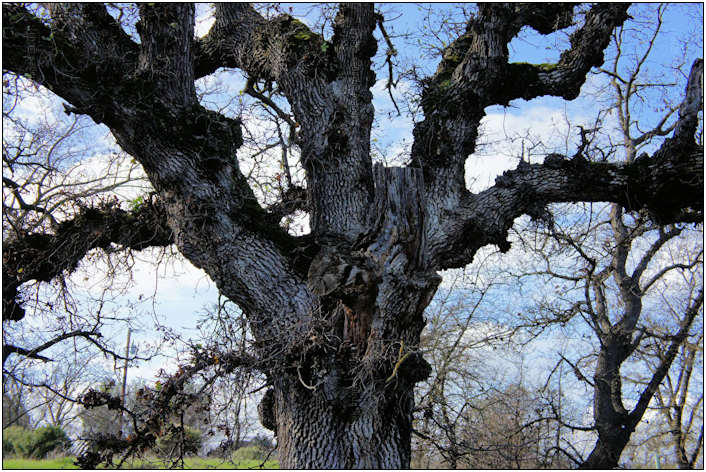
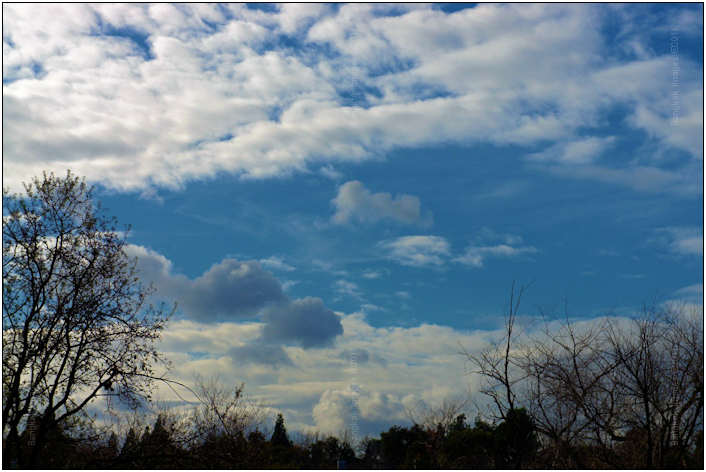
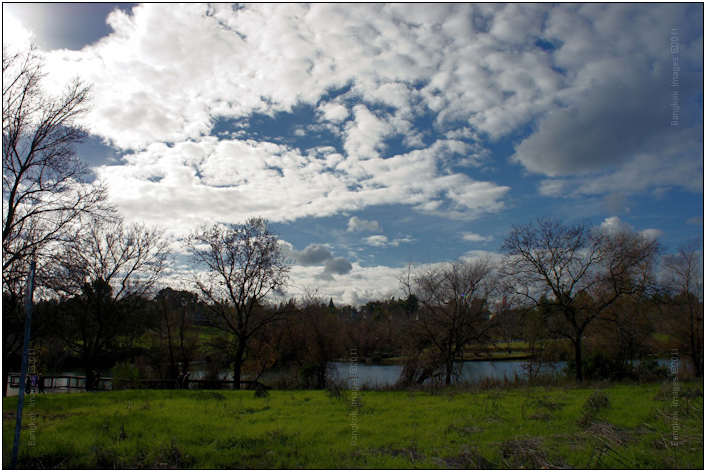
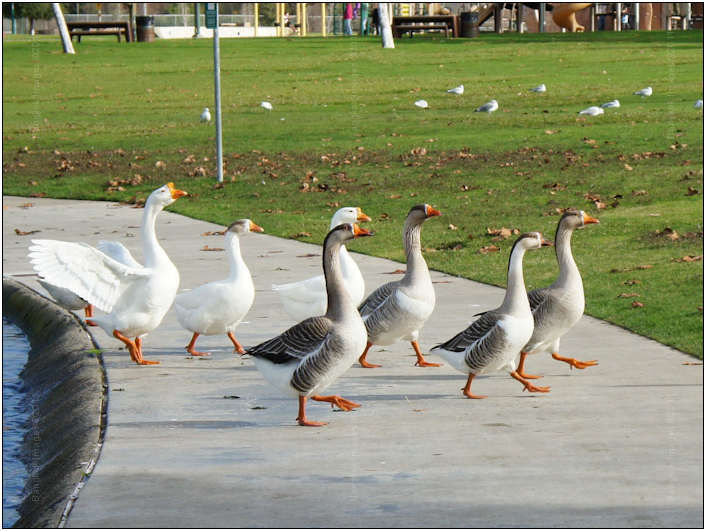
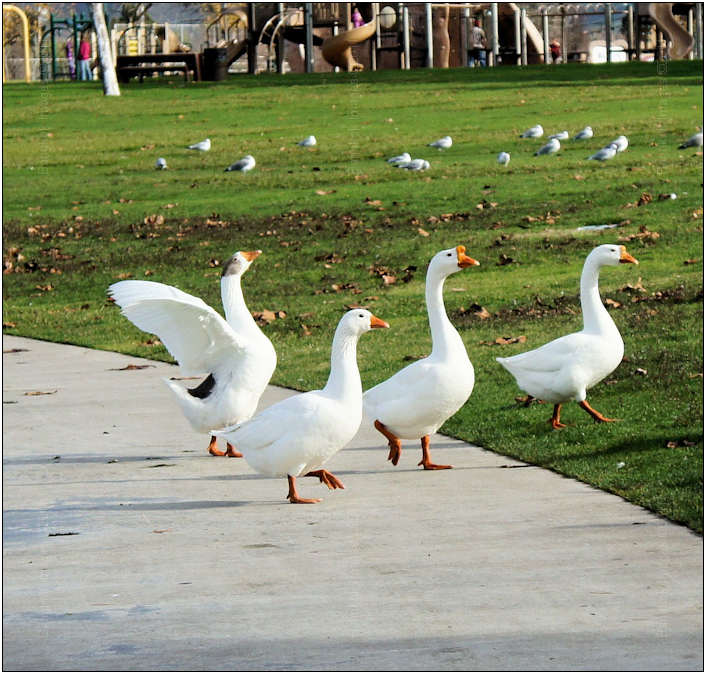
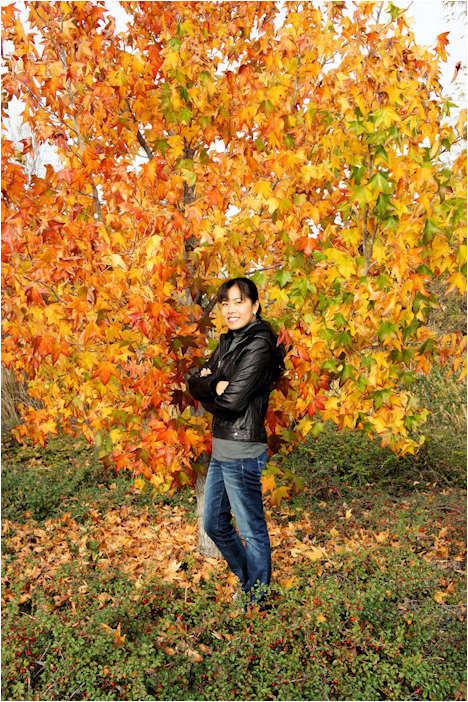
Attached is a mix of photos that were taken over the last few weeks around my neighborhood.
I used the Sony NEX-5 shooting in RAW files with various settings on the camera. I have a lot of fun using the close up functions on the camera and obtain decent results. The Sony provided Image Data Converter software was used to post process the RAW pictures to fit my taste. They were saved as JPEG files and run thru PaintShopPro x3 for cropping and sharpening.
Working with RAW files is still a bit of a mystery to me but the results look good. I have Adobe Elements 9.0 2010 Platinum and Photoshop Lightroom 3.2 on my desktop but have spent little time working with them.
Question is, in your experience, would the use of the two Adobe products provide even better results than with my current software?
Using the Samsung LED monitor is a great help in adjusting the pictures.
Would appreciate any comments on the above and on the attached pictures.
Rickster
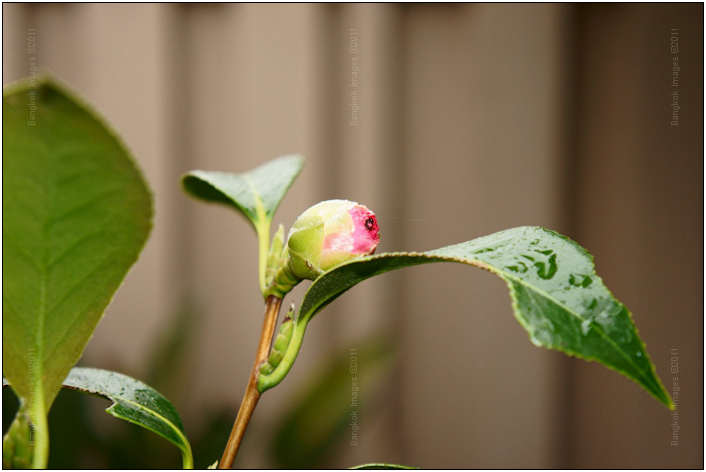
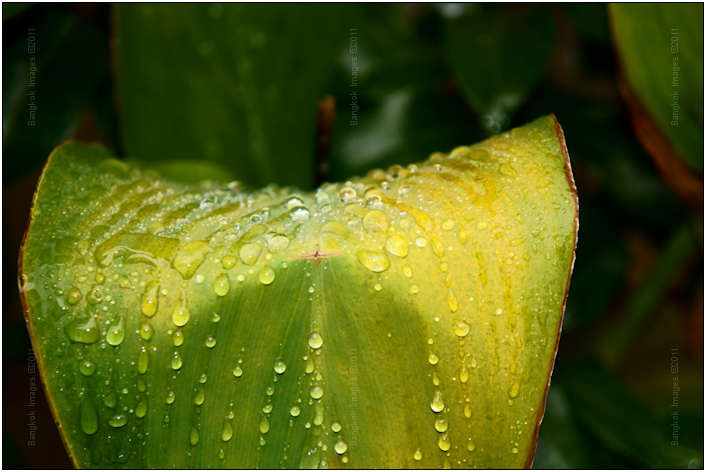
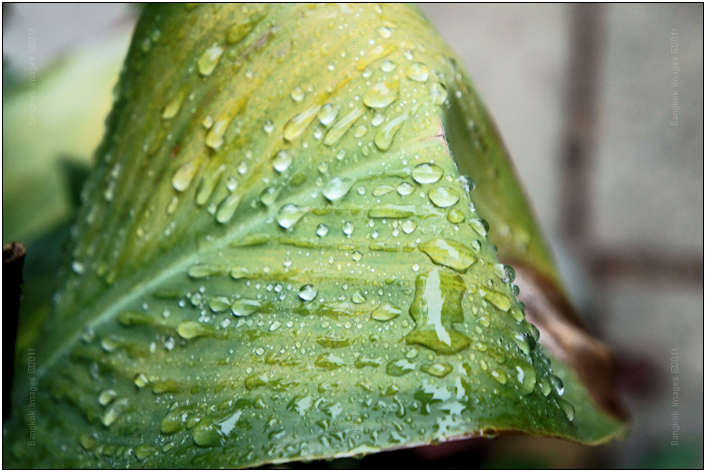



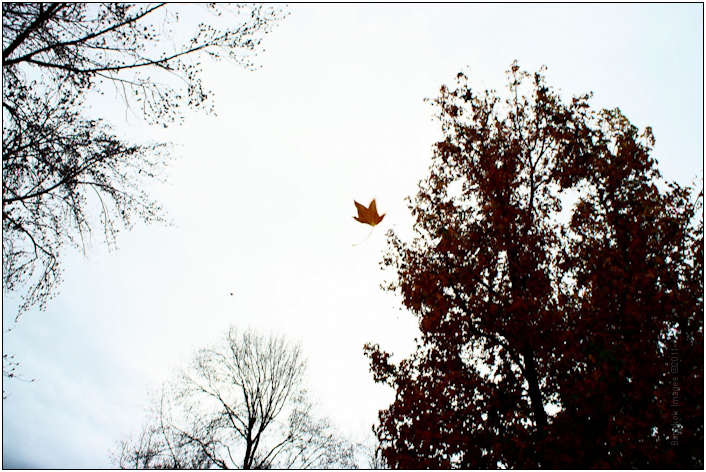
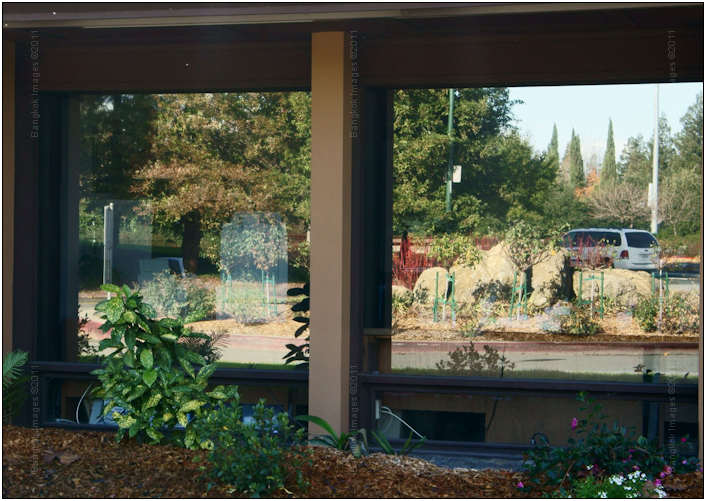
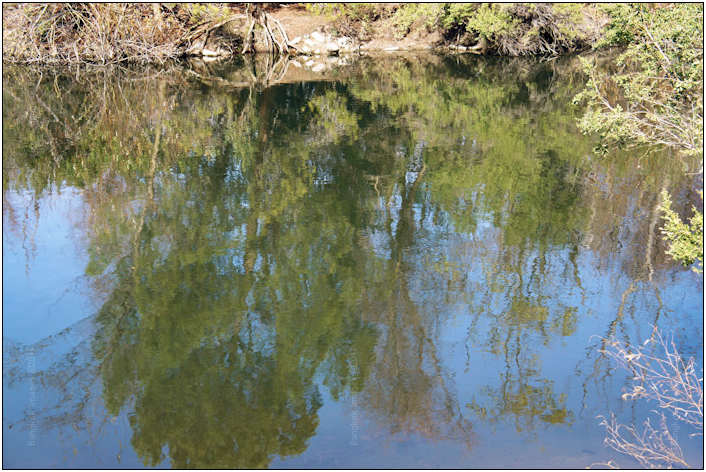
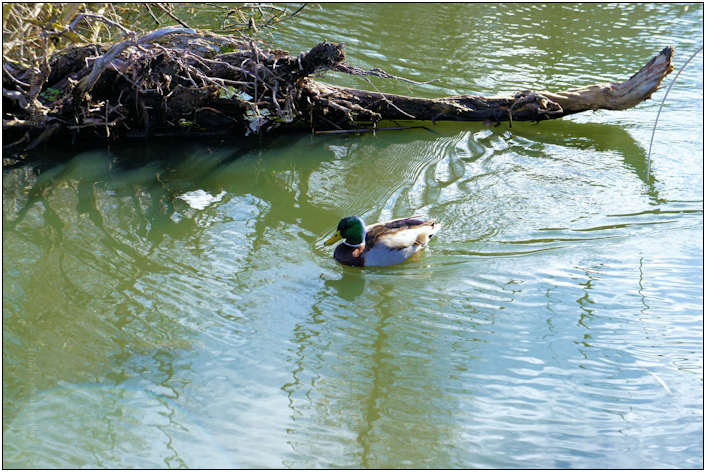






Rick –
I had fun viewing this images. They’re imaginative, full of color, and fun. You asked for comments so I’ll offer you this: Working in RAW offers more choice in processing with less image degradation and I’m glad you’re working at this level, but be careful you ‘balance’ your adjustments/settings and try not to overdo or depend too heavily on any single setting. With Lightroom use their controls in order, they lay them out in a “top down” order. Start at the top with your white balance, and then work your way down in order.
Some of these are over sharpened, others are right on the edge. Work more with the camera to get them sharp with the capture, and then only use enough sharpening to overcome the anti-aliasing filter effect we all get with DSLRs. Moderation. This is especially important on a small crop like that of the duck on the rock, over sharpening is much more apparent with smaller crops. With LR and the NEX-5 I normally use about 70 for sharpening with a radius of .8.
The geese shots.. or any shot.. the whites should not be blown out. If you can’t see detail in the whites, then they’re blown (or out of focus). In Lightroom you can click on the square in the upper right corner of the histogram, and this turns on your highlight alert system. All blown highlights will now be red in color. Decrease your exposure control as a coarse adjustment, and your ‘recover’ control as a fine adjustment. Slide the recovery over to the right ‘just enough’ to make the red go away, no more.
Again, I really enjoyed these and I love watching you make such rapid progress. I look forward to more!
Steve
I’d like to mention that everyone, myself included, is really enjoying the current trend of readers submissions. Everyone loves them, but remember we can really use more. I have only another week’s worth in my queue, so please take the time to put together a few images and words if you can and send them in. Thank you. info@BangkokImages.com
Readers Questions *menu
Steve
I have 10 or 12 photos from the South America cruise and another report on the NEX 5 to send. Last time I had to send pictures in 3 different e-mails to you. Is there a way to reduce the file size of these so they can all go at once?
Have you downloaded the new firmware from Sony for the NEX-5, any problems?
Thanks
Rick
Hello Rick –
Below are two articles on resizing which answer your questions.
1. Resizing Images in a Nutshell (talks about why, choosing size/resolution, etc)
http://www.bangkokimages.com/Articles/Tutorials/entryid/391/Resizing-Images-In-a-Nutshell.aspx
2. Resize Magic Review. (explains how to use a free resizing utility) http://www.bangkokimages.com/Articles/Software/entryid/254/Review-Resize-Magic.aspx

Steve
Please submit your questions to info@BangkokImages.com All questions will be answered and most will show up in the weekly column.
A Snapshot of Bangkok Images Week in Review *menu

This week we had no workshops and no assignments. This was by design as I had a lot of personal errands to run this week. The cool season seems to be near the end, each day is becoming warmer and warmer. Soon the hottest time of the year will be upon
us.
Positive comments continue to pour in about our new look and much faster more interactive site. If you haven’t already checked it out, visit www.bangkokimages.com to seemy latest galleries, share your own galleries
, participate inthe forums
, and scour our large repository of photography related articles. The “What’s New”
page continues to be very popular with almost daily updates and interesting content.
I posted a new gallery showing all of my Train Market images andyou can see it here.
Dana sent in a new Thailand Photo Stories piece titled "MEMORY PEARLS."
These Thailand Photo Stories are some of Dana's best work and some of the most popular pieces on the site.
The Readers Submissions queue is now officially empty. If you have any images you’d like to share please send them in. If you think you have material for a feature contact me and I’ll do what I can to help you put it together. Your contributions are appreciated by everyone.
Infocus Blog, Fuji X100, A Convert *menu
I’ll be the first to confess, when it comes to photography equipment I’m slow to embrace change. More accurately, I’m often the guy being dragged by his heels into certain new technologies. LCD displays on cameras would be one of
these technologies.

When was the last time you held a 100% mechanical camera in your hands? Etched/engraved numbers on the control rings, substantial metal knobs and dials, firm detents as you work the controls, the firm ‘click’ when closing
the film back, and the ultra-smooth sound of a quality mechanical shutter are some of the simple pleasures in life. Without looking, using only feel, your eyes through the viewfinder, you can completely control your camera in almost any circumstance.

When around other photographers you can tell the guys who just changed camera brands, or ‘gasp’ amateurs by the way they’re looking at the camera as they manipulate the controls. Some look confused, others lost, and
the occasional guy will see you looking and sheepishly shrug as if to say “I should know better..” Mechanical cameras are designed to be operated by touch and feel and the only thing you need your eyes for is to compose
through the viewfinder. No apologies necessary.

But then one day Moses went up the mountain and came down carrying digital cameras. These were strange beasts and had many new rules to learn and they required us to change our ways. Some photographers fainted, others cried, and some fought back. I did
all three.
These new cameras had something called an LCD. Some had several of these abominations. Plural insults! I immediately hated them. Instead of skillfully engraved numbers on our knobs and dials, or even beautifully laser etched writing, we now had these
dim, hard to see in any light, fragile, and certainly inferior panels.
Accessory manufacturers tried to help by selling us protective covers, shades, rubber loupes, and if you can believe the gall lately they’ve tried to sell us 5-6 inch LCD panels to supplement the ones mounted on the camera. Isn’t that an
outright admission that only 12 year old eyes can read the information on these things? In a civilized country the person who patented LCD displays for cameras would be publically flogged in the village square.
My first “serious” DSLR was a Canon 1d. It had three LCD displays! One on the top panel for your shooting settings, another tiny little one on the back to let me know things like white balance settings, file numbers, and
memory card selection. Then there was a bigger 2 inch color LCD that showed me the image I just captured, my histogram, and the electronic menus. Those who remember mechanical cameras recognize some of these ‘displayed items’ as previously being etched on steel knobs and dials, and those that aren’t weren’t necessary. What a bill of goods we were sold!

Not only were we required to learn all these new rules, but we now needed to squint, get special glasses, carry magnifying aids, special tents to block the sun, or bring along our ten year old children to be able to read the displays. I hated them with
a passion!
My first years with digital cameras were spent trying to find some magic combination of settings while sitting in the dark at night where I could see them. My children laughed as I’d tilt the camera one way or the other to reduce the glare or held
them at arms-length where I could focus. When working professionally I’d often carry 3 bodies with different settings because there was no way I could change these settings on the fly. The sun who used to be my friend, now mocked me by
rendering my LCD displays useless. It was a dark and confusing world.
But something happened and just now I realized it. I was reading the preview of Fuji’s new X100, a camera I’m sure to buy the moment it becomes available, and I noticed I registered disappointment that it’s LCD was only 2.7 inches
and 460k pixels. It was like a bright light coming on. An epiphany if you will. I could see Moses shaking his head in wonder, if I’d only listened to him in the first place.

You see, since my first serious DSLR we’ve witnessed an evolution. Antiglare coatings, big bright high definition LCD displays, backlighting, well thought out controls and menus, and thank you Jesus.. custom setting memories. Over the last ten
years we’ve been slowly photographically weaned away from our beautifully made and hand crafted mechanical cameras, and been given new technology instead. And I fell for it hook line and sinker. Drats!
So when looking at the specifications for Fuji’s X100 and seeing only a 2.7 inch 460k display, and not the 3 inch 920k display like I use on my Canon 5d Mark II I felt a moment of disappointment. Like I’d been let down. Like I’d waited
all night for my very first kiss on my very first date, only to be left frozen and unable to complete the act. But it’s okay, ‘she’ kept her head and leaned in and planted a big one right on my lips.

The big one? Look at the Fuji X100. I’m in love. See the big aperture ring around it’s lovely 35mm F2 optically coated lens? It has laser engraved numbers! Look on the top panel, no LCD’s, instead it has a big heavy metal shutter
dial with engraved numbers I can read, and a smaller but still very useful exposure compensation dial with like etched numbers. Even the shutter release accepts my old and almost forgotten manual shutter release cables I still have in the back
of my camera drawer. And the dials are knurled. Someone has been listening to my prayers.

With the most used camera setting controls being all metal with engraved or etched numbers and knurled holding surfaces this eliminates the need for the top LCD. The camera isn’t perfect though, the lesser used controls such as ISO, file type,
and white balance still requires the push of a clearly labeled button and perhaps a glimpse of the rear LCD. But for the most part, I’ll be able to operate this camera by feel/touch like my old mechanical cameras, the custom settings memories
will help, and the LCD will allow me to see my histograms and when necessary review my images. I notice it’s anti-glare and easy to see.

I hope this turns into a trend. Today I realized I’ve embraced the new technology and in fact have grown to depend on it, but I also realized how some of the old technology is clearly superior and I hope to see more engraved knobs and dials on
more cameras in the future. I think with the Fuji X100 we’ve struck a nice balance. I’m excited to get my hands on one and make it my ‘everyday everywhere’ camera when not working and just recreating
and traveling like most normal people.

I’ve gotta wonder though, do you think we’ll see polyester leisure suits, bell bottom pants, acetate floral print shirts, long hair on men, and disco come back in style? I sure hope not. Old isn’t always better. I’ve been converted.
Until next time..


